Saturday, March 17, 2012

Chalk board paint projects done


So it was a sunny day here and i was just so inspired to get some thing done!

I have have been meaning to for a while now to get a amazing gold frame and put a chalk board in it. Well i still have not found that perfect frame so i decided to just use one i had already that is off white. 

I got out the wonderful chalk board paint and sprayed the first coat on the glass that goes with the frame.
then as i was waiting for it to dry i thought why not put it on something else.... watch out. :) 

We have these coke glasses that were from some party we had and as much as i think there cool the red didnt really go with my decor all to well so i thought why not tape then of and spray over the coke part. I had seen it done to other bottles so why not. 
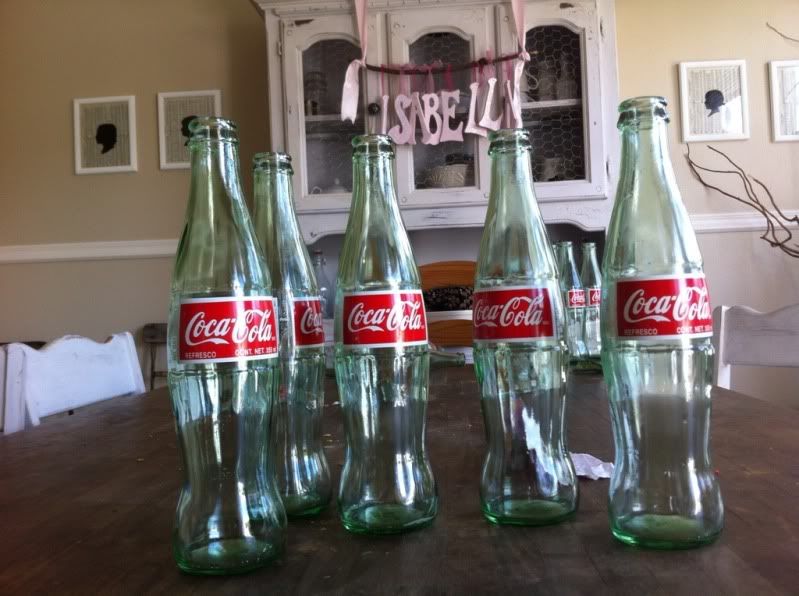
(isabellas name is hanging up for her party thats coming up )

*tape them

 *so after i taped them off i sprayed it with the first coat.
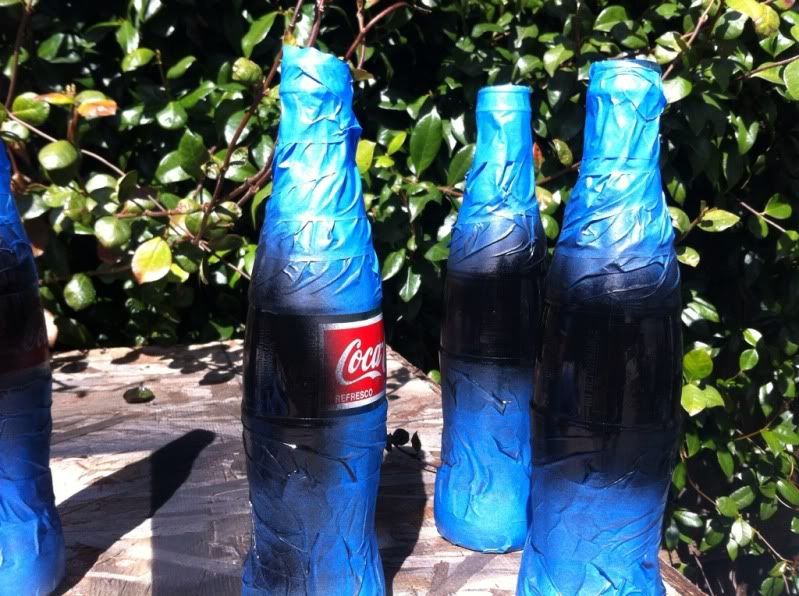

*so then i was waiting for those to dry i sprayed the glass again.


*and well i then got a pitcher i have and taped that off and sprayed it too lol
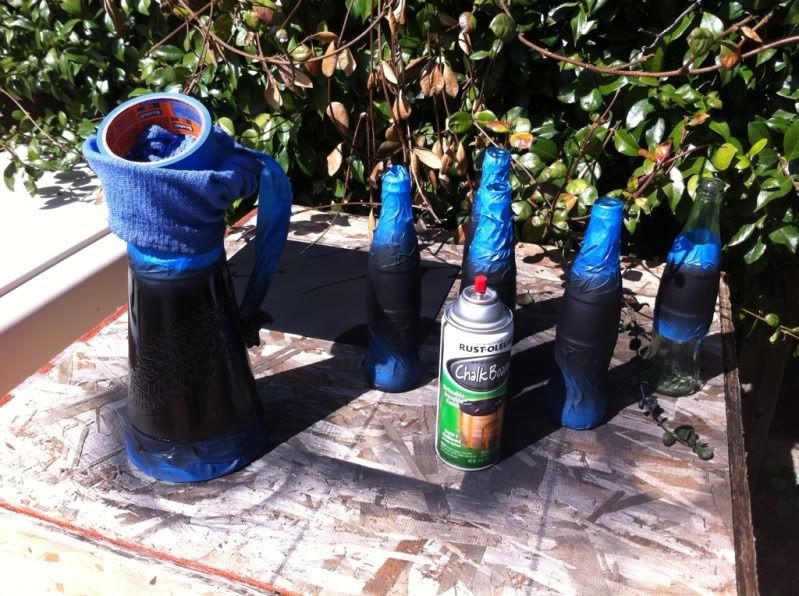

*i did about 3 coats on them all it only took 20 mins to dry each time if that. 

after it was dry to the touch i took the tape off.

 They are supposed to dry for 24 hours but im impatient kinda (hehe) and only waited a few hours before i broke the chalk in and started prepping the chalk area buy turning a piece of chalk sideways and rubbing it all over the board. then with a dry paper towel just lighting wiping it off. it was totally dry enough ;)

so here is the finished product :) 

sidenote (the pine chairs are going to be painted so ingnore how they are standing out!  hehe)


 (the line is a little messy on the bottom i need to fix that )


hope you had a great st Patricks day :)

Tuesday, February 7, 2012

annie sloan chalk paint dresser.


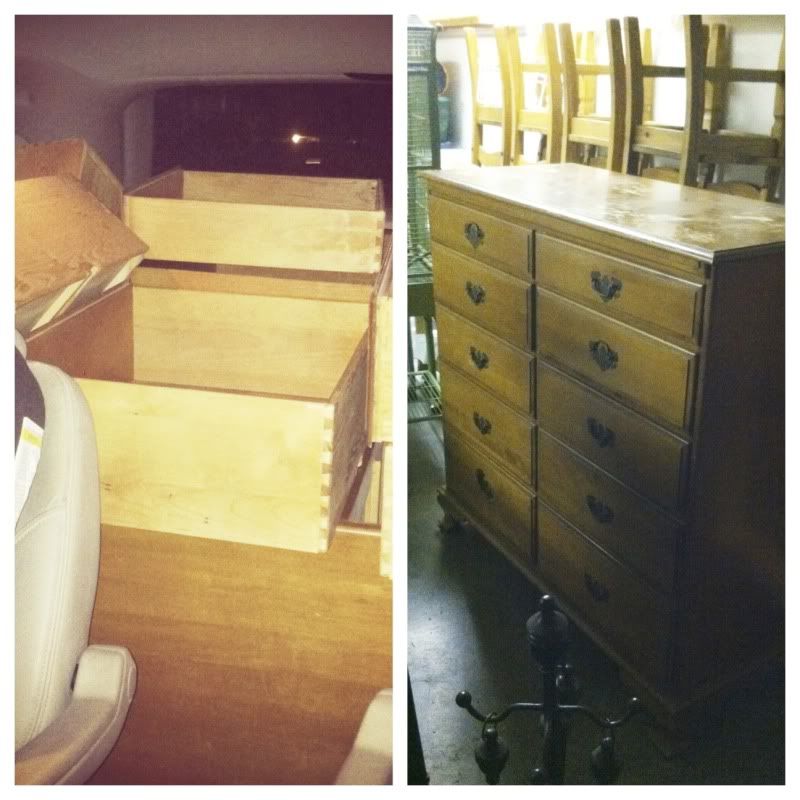
So one of the big perks about having a blog and a huge circle of friends that know you love redoing things is when they have furniture they want to get ride of.. they call you :) With this next piece i got a message on facebook saying the dresser needed to be gone by that night so if i wanted it, come on by. Well of course i hopped in my van and loaded it up. 
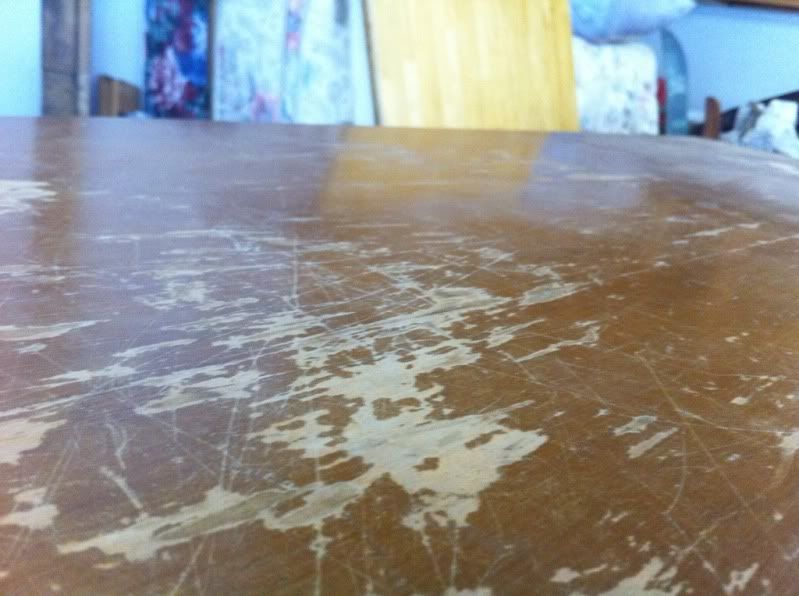
Its a solid wood maple dresser. It really was in great shape just some scratches on top.... super heavy! i had large bruises on my legs from moving it lol.


before 

step 1
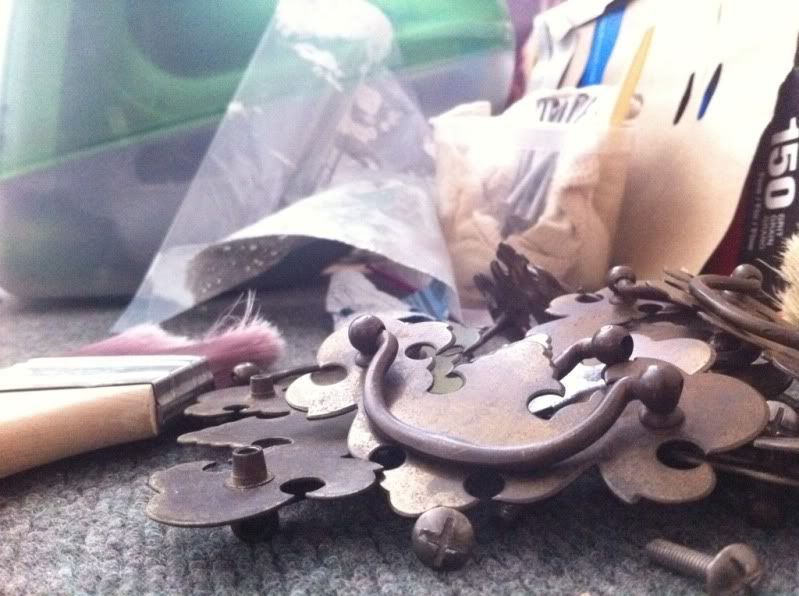
take hard ware off :)


step 2
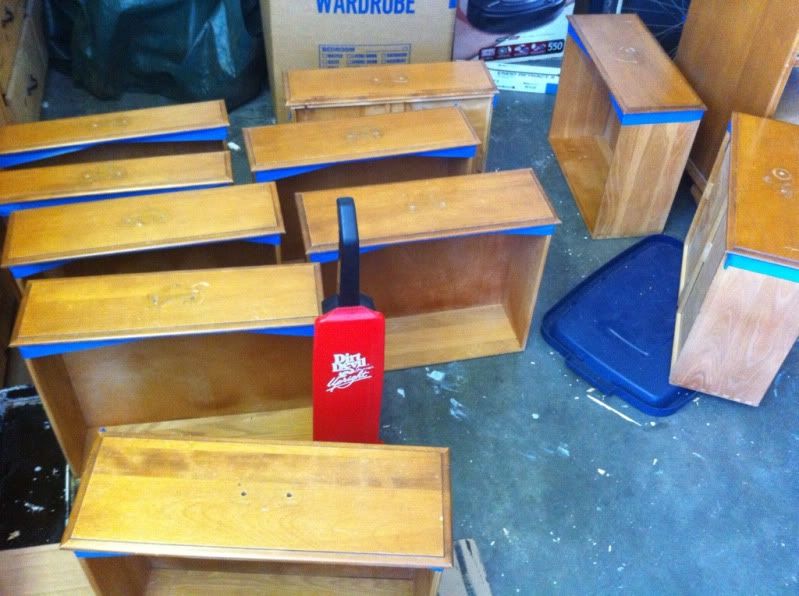
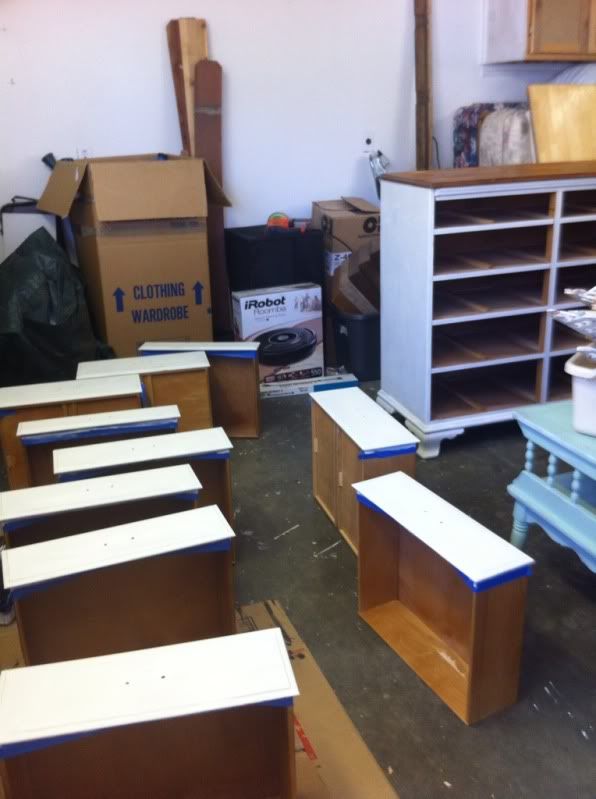
tape it 


step 3
put striper on the top of the dresser according to the directions on container 


step 4
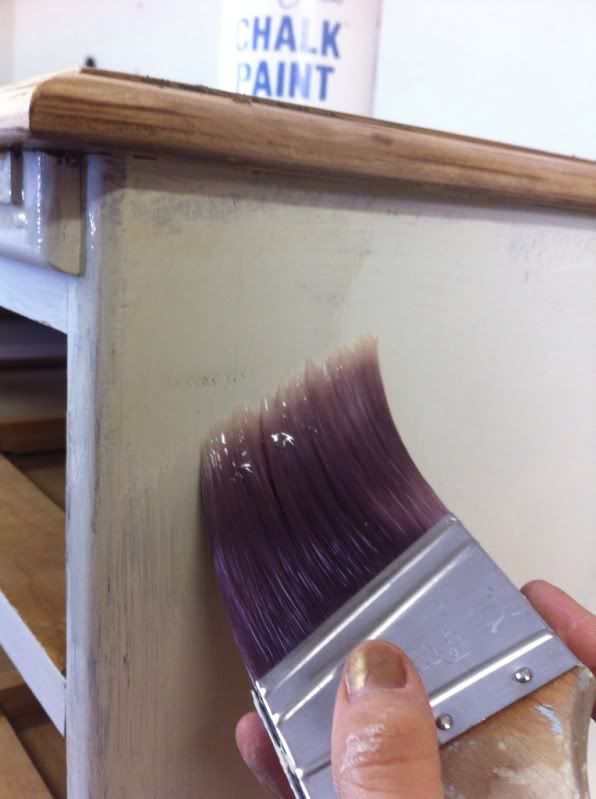
i mixed up annie sloan chalk paint old white and a little water 


step 5 
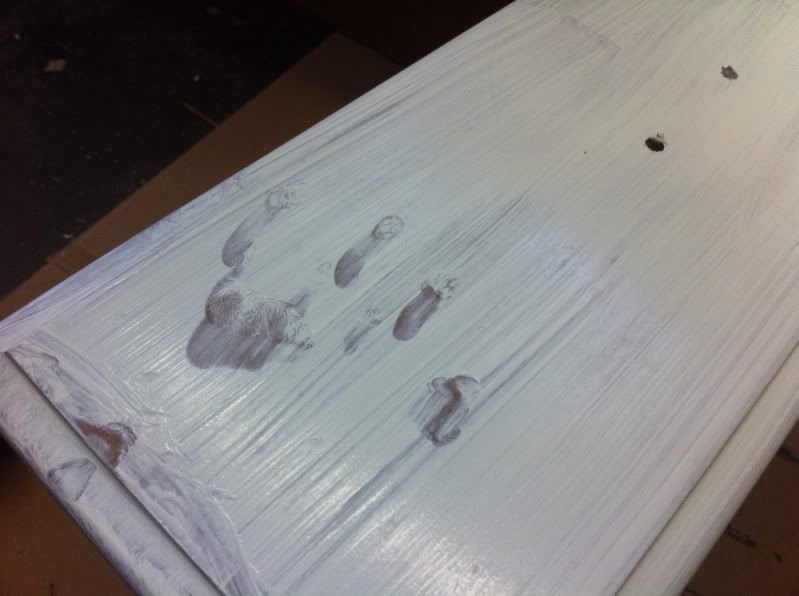
first coat of paint.
now i wanted this paint job to be a messy one, not smooth. it was a fun one to paint because of that i just slopped it on there :) and look at the fun little hand print my one year old left for me lol. 


step 6
by the time i got the first coat on it was time to scrape the top of the dresser 


step 7
paint another coat on there real messy like 


step 8
i sanded down the top of the dresser and im sure some of the dust got on the drying paint but i didnt mind. remember im going to a very messy look :) 


step 9 
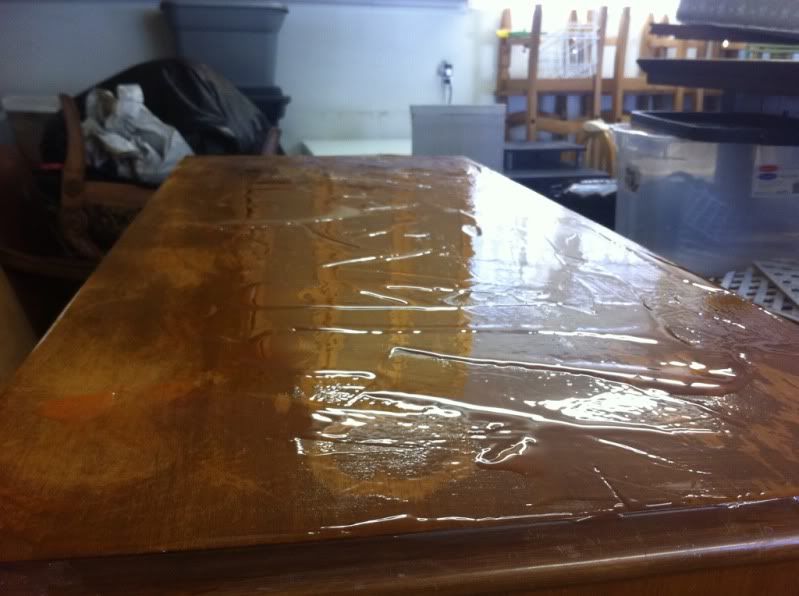
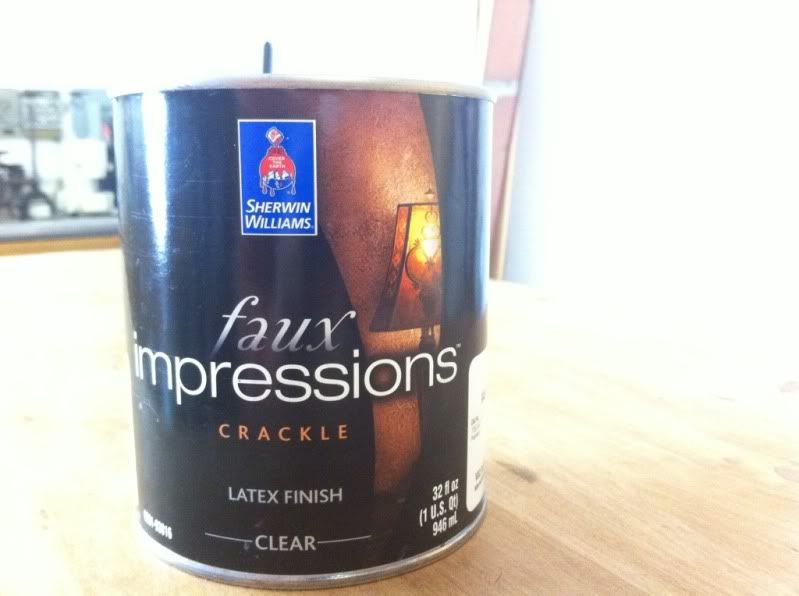
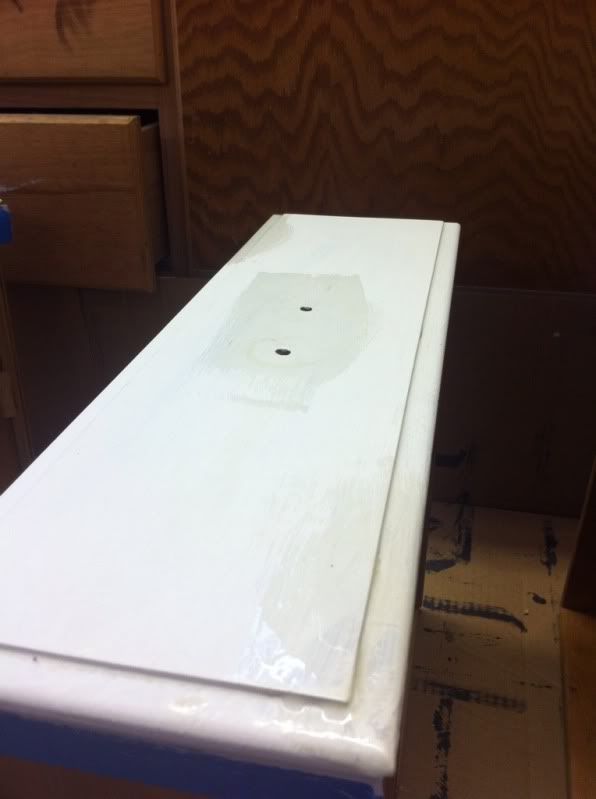
after the sec coat dries i got out the crackle paint.. now a big tip for using crackle paint is not putting it all over. i put it only on little areas of the dresser. follow the crackle paint instructions...


step 10 
after it dries paint another coat of white over top of the crackle. only go over it once other wise it is a messy look and not in a good way! 


step 11
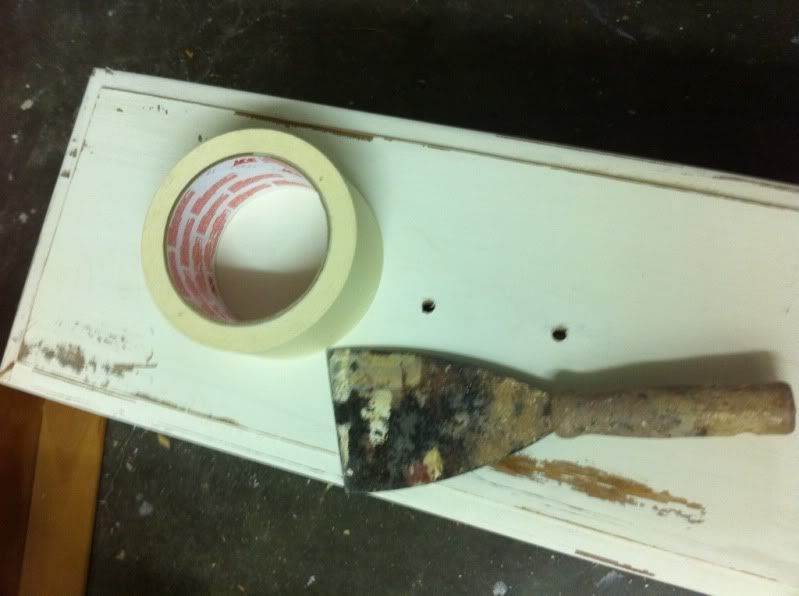
after you have let it dry. it doesnt take real long. its time for the fun part! distressing time. i use heavy sand paper, light sand paper, scrapers, tape and pretty much anything you think would ding it up :) (i use the tape to pull some of the paint off, it kinda looks like its chipped)


step 12 
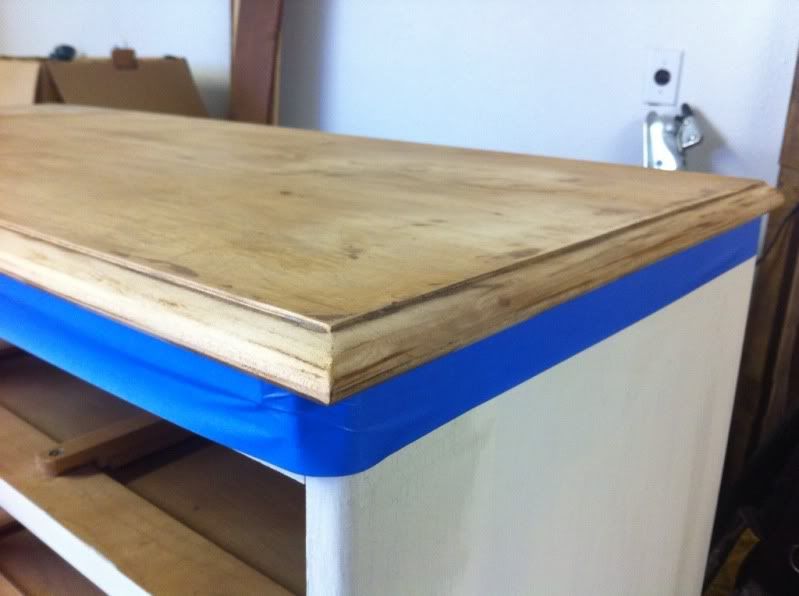
tape around the top of the dresser so you can stain and wax the top.


step 13
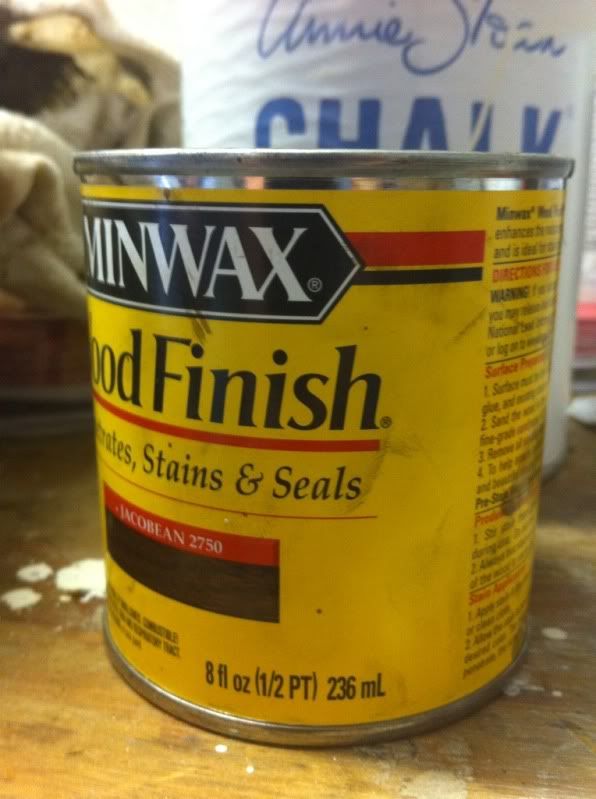
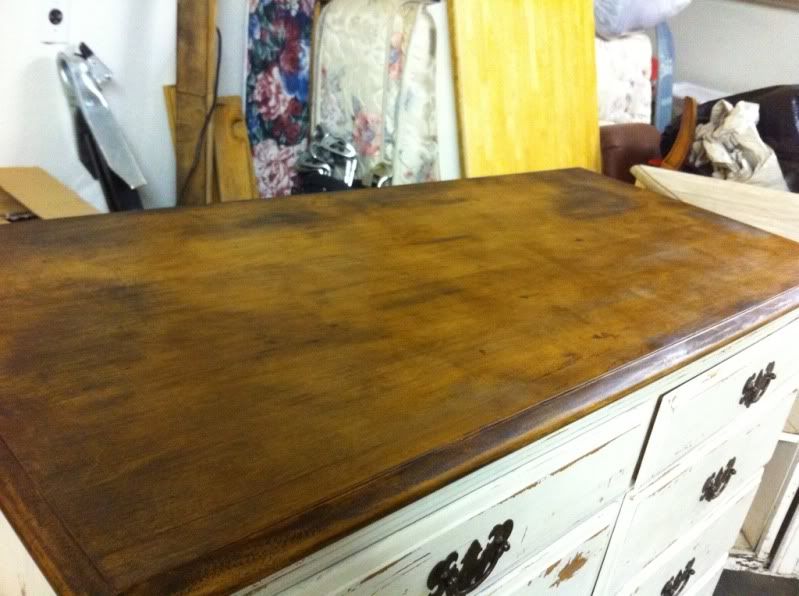
stain the wood on top. i use a dark stain by minwax. i wipe it on with a rag. 


step 14
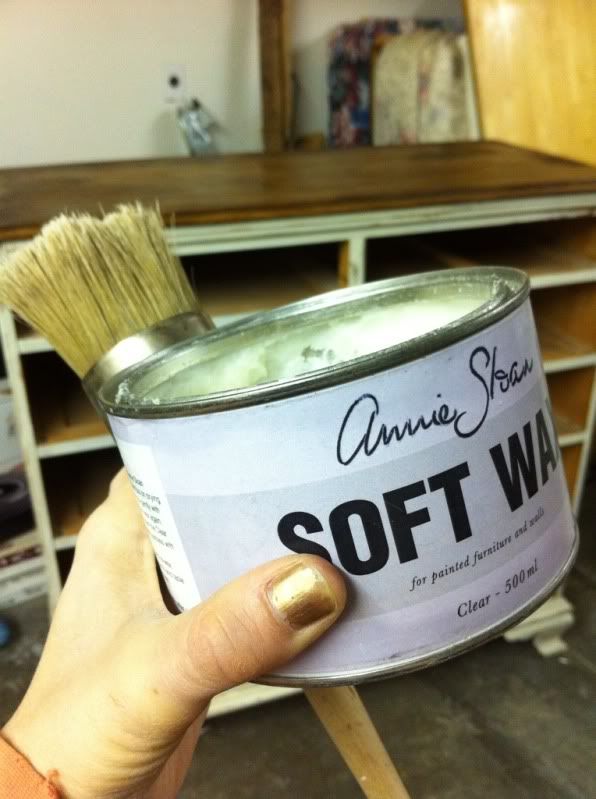
then i use a dark soft wax by annie sloan... then buff it out after 15 plus mins 

step 15
 now wax all of the painted parts with a soft wax i used a clear one with no stain in it. I also buff it out right away working a 20by20 area. 


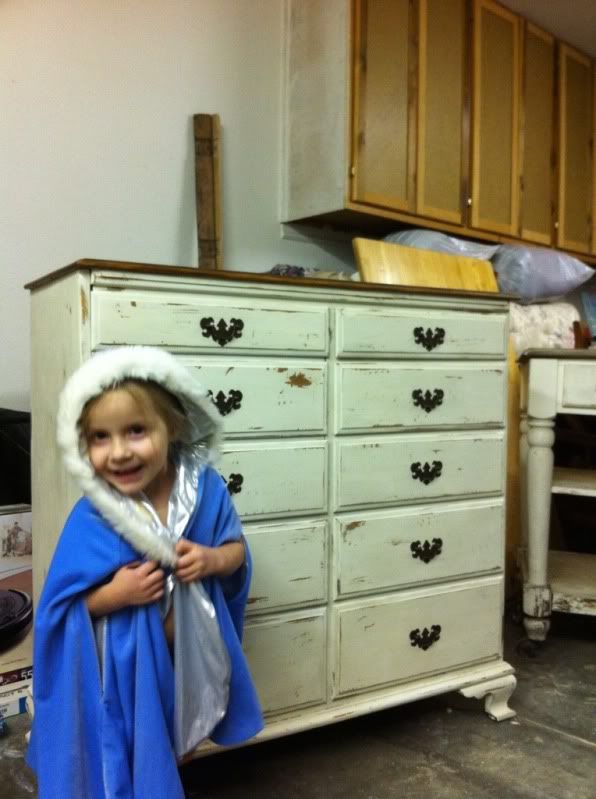
and there ya have it just put the hardware back on and your done! :) 


Here it is (sorry the room has no natural light so they are not the best lit pictures)