Thursday, July 26, 2012

milk paint bed redo/ boys all american vintage baseball room


So july is my two older boys birthday and for there presents we redid there room :) the theme being your all American baseball room with a little vintage thrown in there :) it does have all the finishes but good enough to post :) 
also cruz our two year old is ready for a big boy bed so we took the crib down and with put cruz (2) in the bunk bed with diego (7) and judah (9) in the new big bed :) :( (bittersweet for this sentimental momma not that he slept in it all that much anyways hehe) 


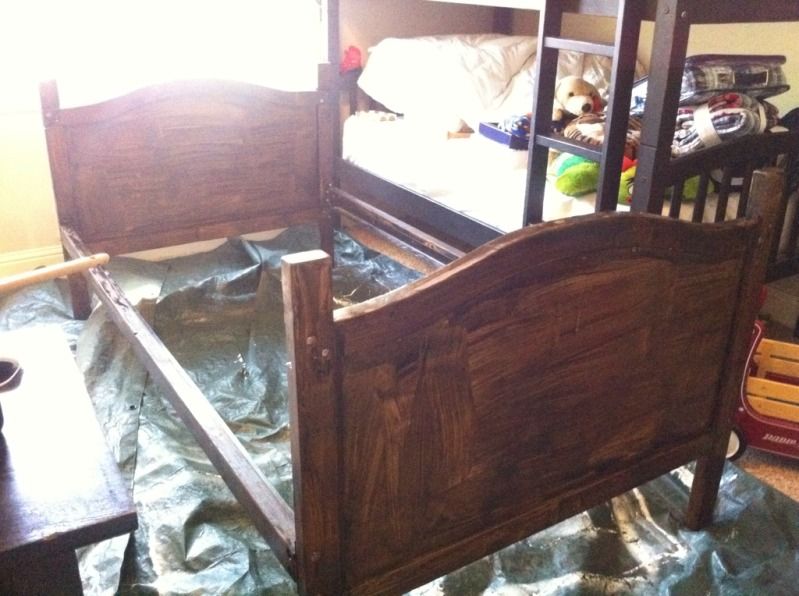
so i painted it black with milk paint. 


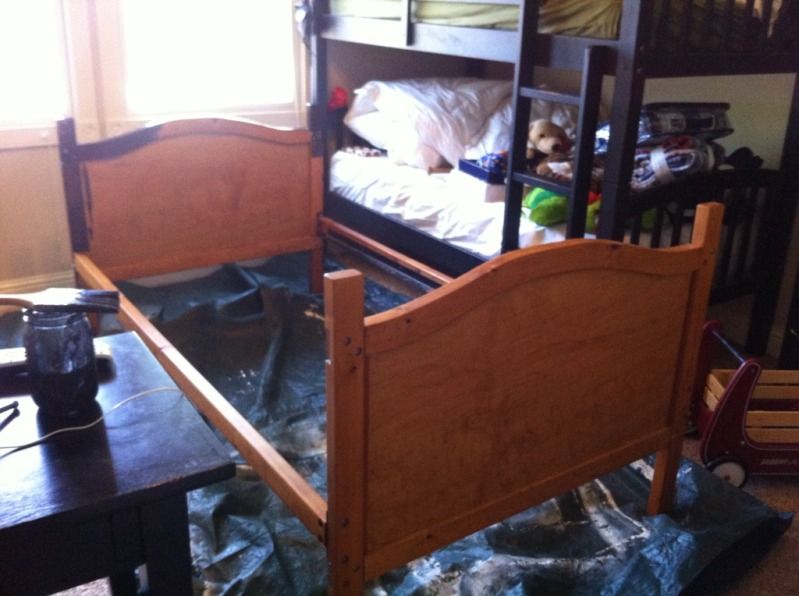
here is the bed before (a great bed built by my brother eric :)
*first i mix the milk paint in a jar with a fork or just shake it up, some people even use a old blender :) missmustardseed has three great videos on milk paint (as well as lots more info!)


then i put the first coat on it will be pretty thin but thats ok once it dries just put another coat on :) 
(also this paint works best on raw wood but i didn't want to sand it so this bed is already sealed but i find it just distresses more if its not raw wood)

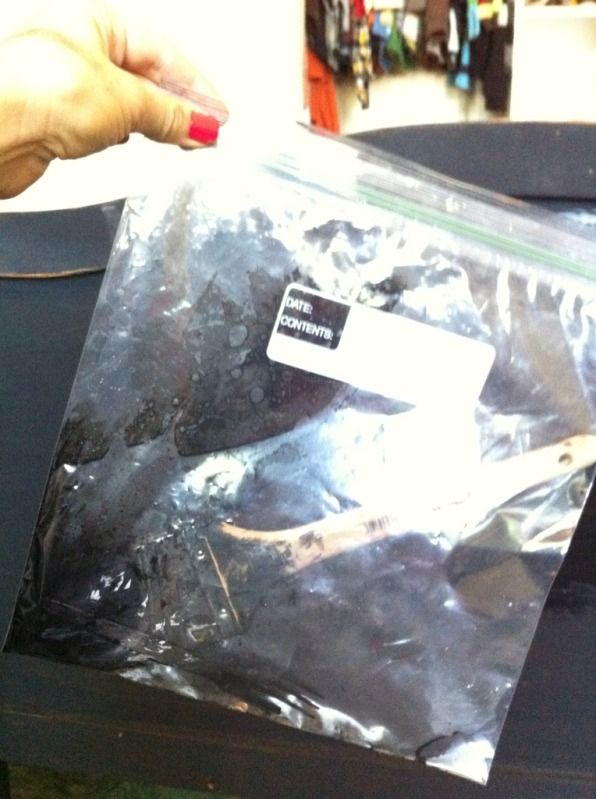
while i wait to the first coat to dry i put my brush in a ziplock bag to keep t from drying out.


then time for a sec coat 
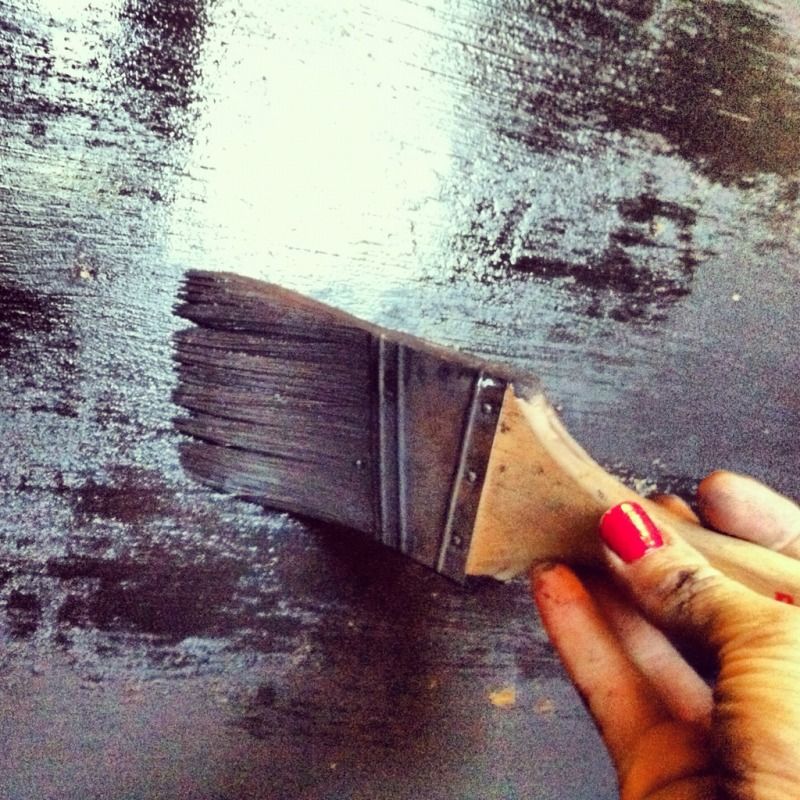

Now with milk paint it has a mind of its own and with flak off by its self where ever it wants too unless you add the adhering agent to it. i how ever like that part of milk paint so i just let it do its thing 
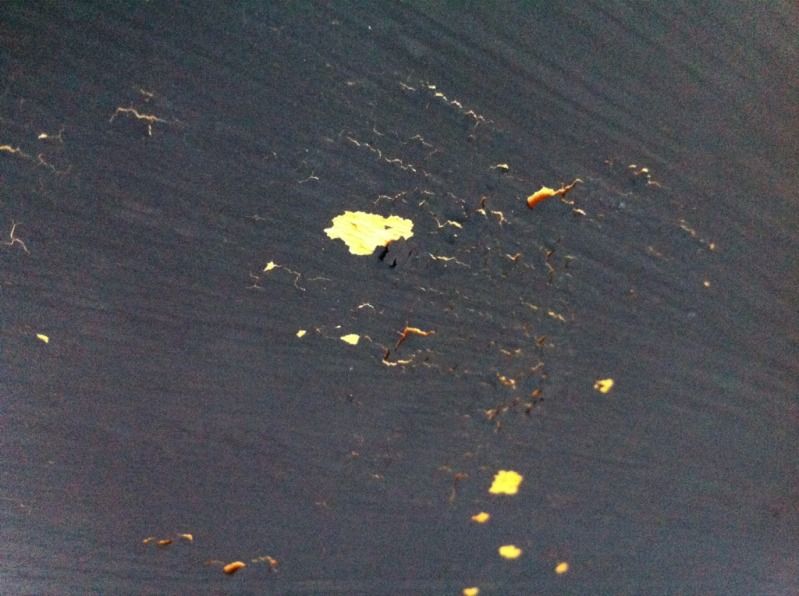


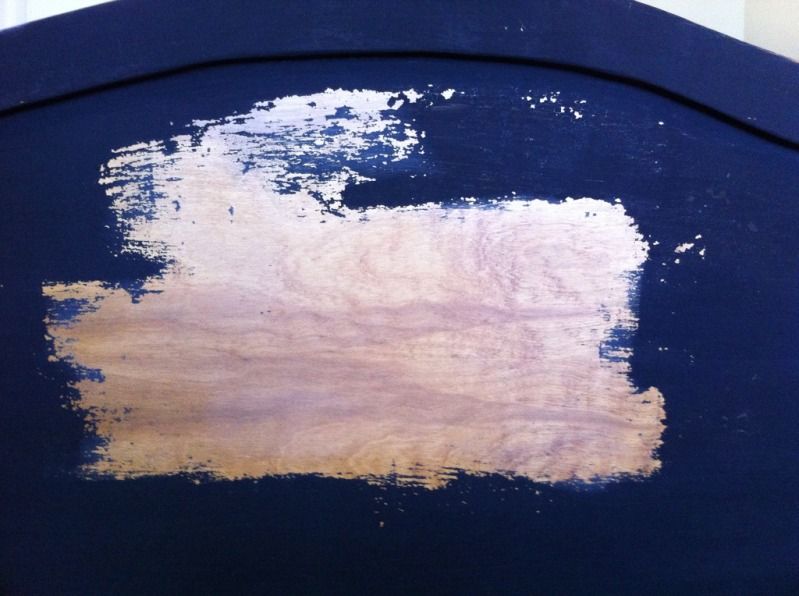
then after a light sanding it the places i wanted i discovered that one spot did not want to adhere at all 
lol not want im going for so i sanded it to make the wood more and painted it again with a couple coats. and it worked much better 

then i used a wipe on poly to seal it all done! took me just the morning to do it yay.


the boys did help with there signs by helping paint them red with red milk paint :)


then sanded them down 
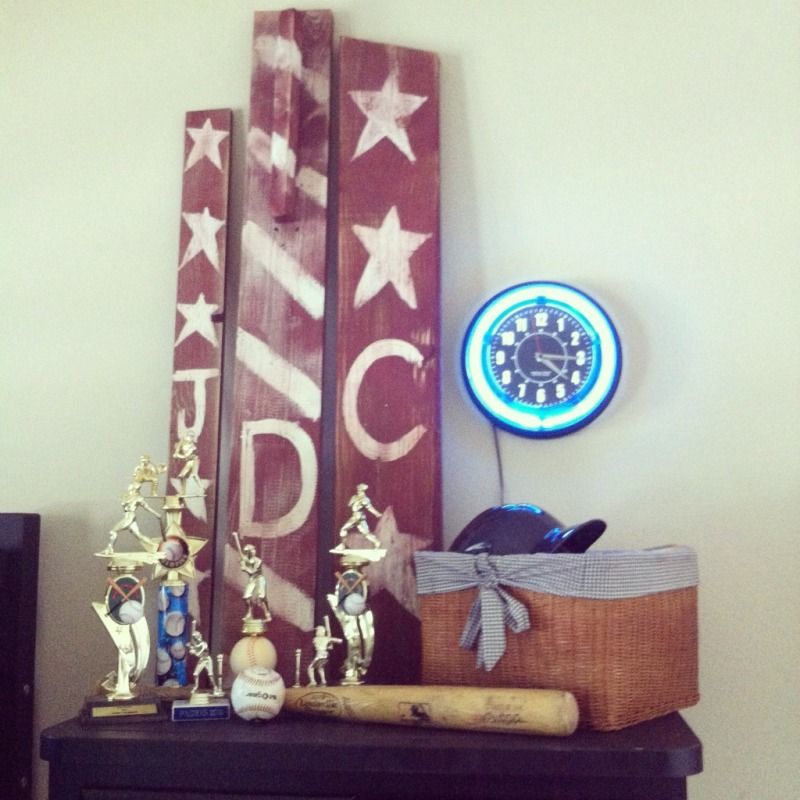

hope you enjoy :) we showed the boys last night and they all loved it :)


this was just to cute hehe and sad haha

Thursday, June 14, 2012

From old to New...dinning room table


So my style has a made a drastic change from when we first got married. it had always been rustic but way more Mediterranean. Now, well you can see its not so Mediterranean. I still think that style is great but just doesn't fit me anymore :)
 Well when we got married 11 years ago we got our table from Pier one and spent a pretty penny on it. well that and the 8 chairs we got to fit our big family one day. We lived in a tiny apartment and made it fit where ever we went through the 11 years :) but even though we made it fit in our house's it was not fitting in our style anymore. So i had found our other dinning room table for 25 bucks and made that work. All the while keeping our old table in the garage.
 Well we have 4 kids and that smaller table was not working anymore. SOO i got up the courage to redo THE table. i went back and fourth on what i should do and after some trial a error, finally settling on good old faithful white lol. So here is the how to of our table.
Keep in mind i need to finish the chairs still but just haven't gotten to it yet and didn't want to wait anymore to share it with y'all :)


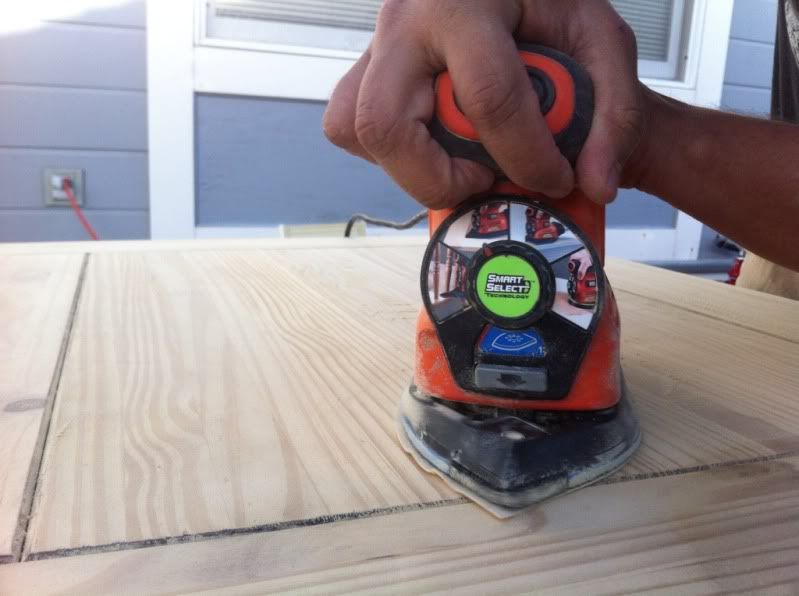
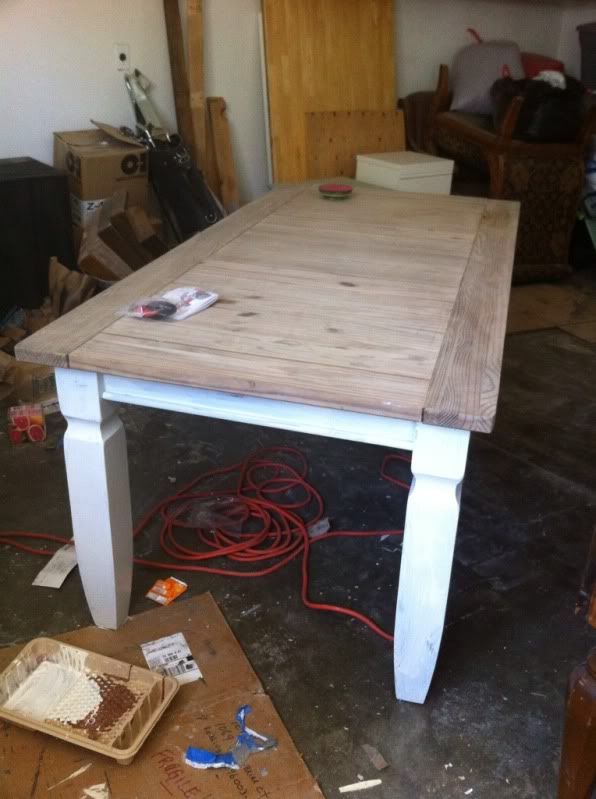
*First my wonderful hubby sanded down the heavily waxed top (yay cause im not a fan of doing that)
He used a heavy grit first then a fine grit to smooth it out. 


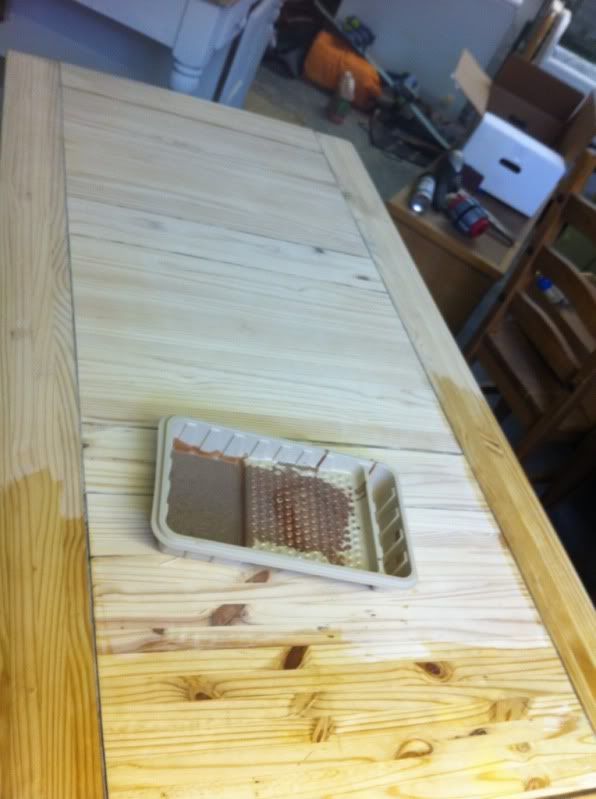
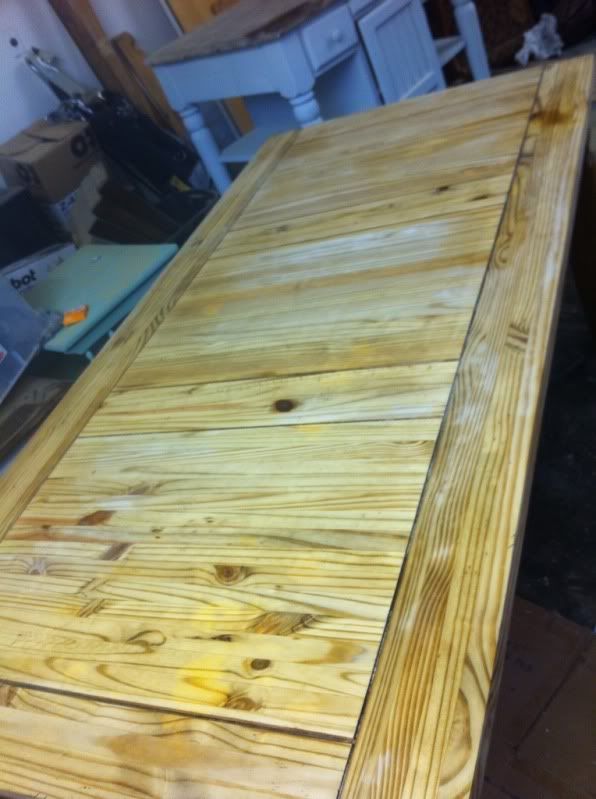
* then i did the vinegar treatment on it. I probably did at least 5 coats on it letting it dry in between. 


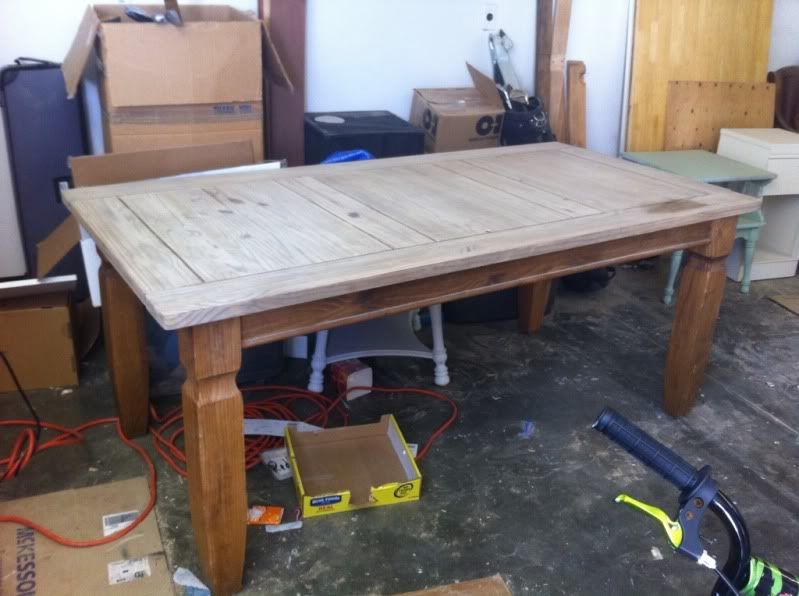
*then it was time to paint the bottom. this was the trail and error part lol.
i first painted some blackish grey on a few spots i wanted to show through and then put Vaseline on a few spots so when i painted over it and then distress the piece it looks more chipped in the areas where the paint didn't adhere.

 
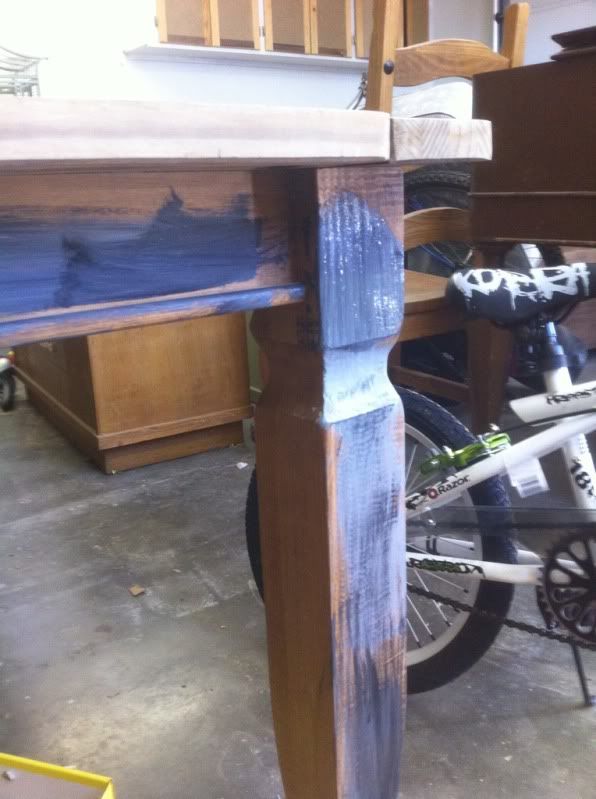
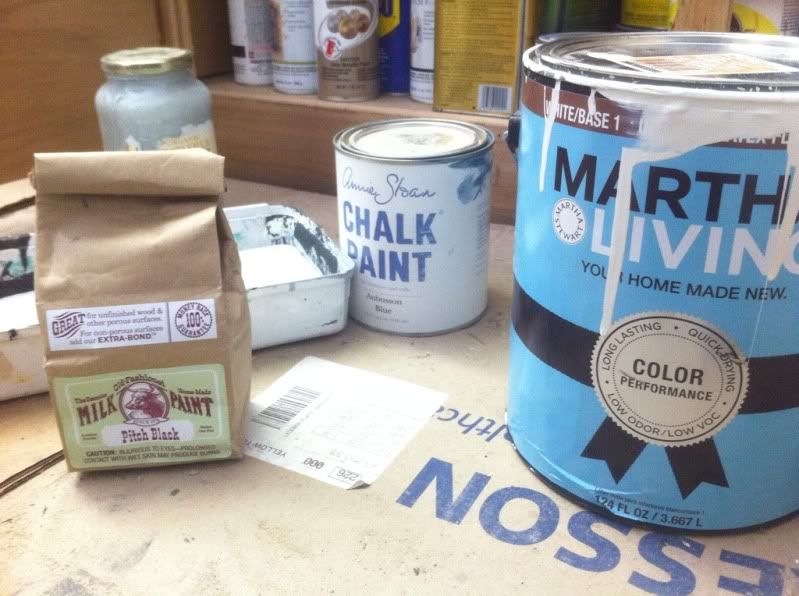
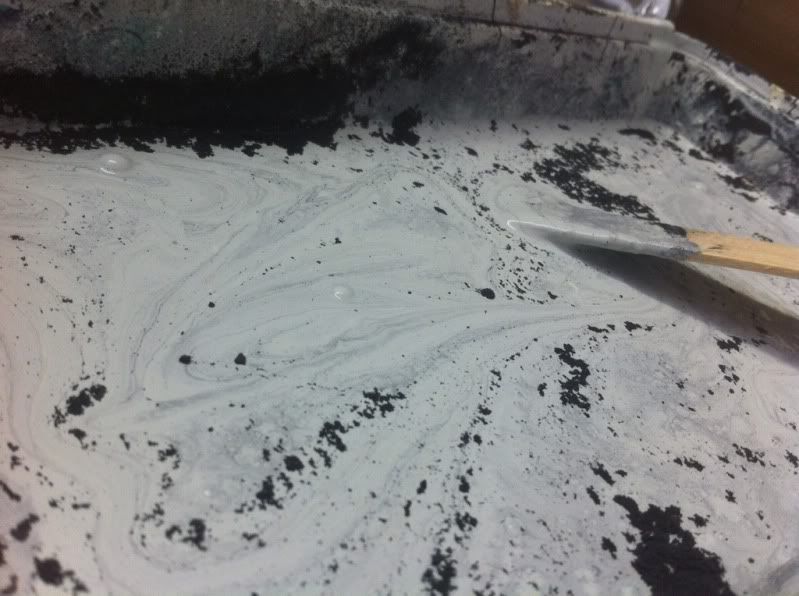
*so we wanted to do a kinda grey so i mixed a few paints together. i mainly use chalk paint now but i had some flat latex paint left so i made a kinda chalk paint using flat paint, some blue chalk paint and adding black milk paint powder to tint and make it stick more like chalk paint, it worked but i did not like the blue color it turned out to be for this piece


* i didn't like it so much that i don't have a picture to show ha. but the great thing about paint is you can just paint over it and then there are even more layers :) which i love. so i then used old white chalk paint to paint on over it. i always water down my chalk paint a bit i like it to be thinner to work with. 


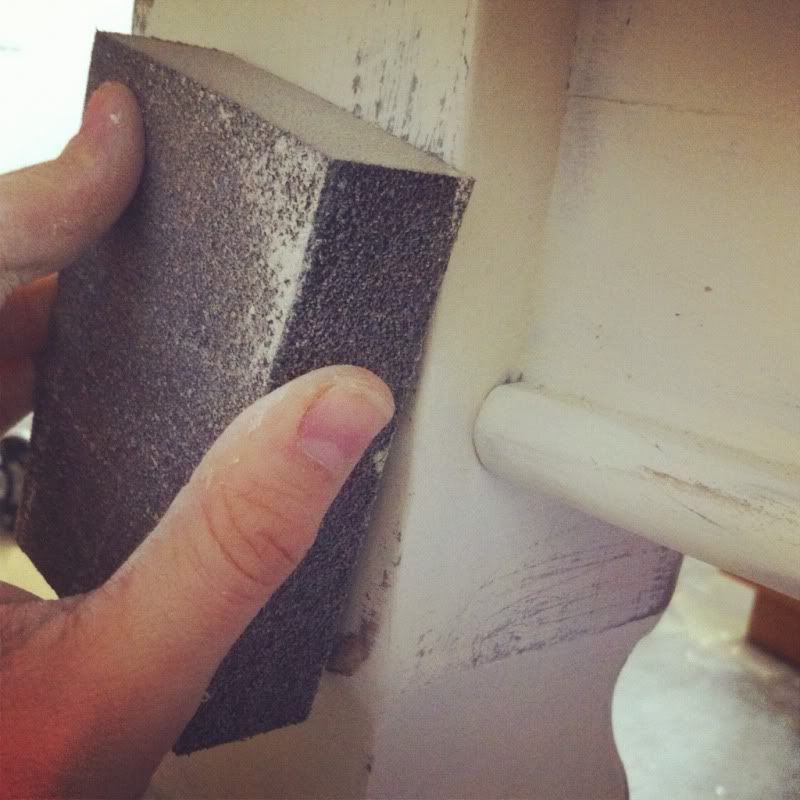
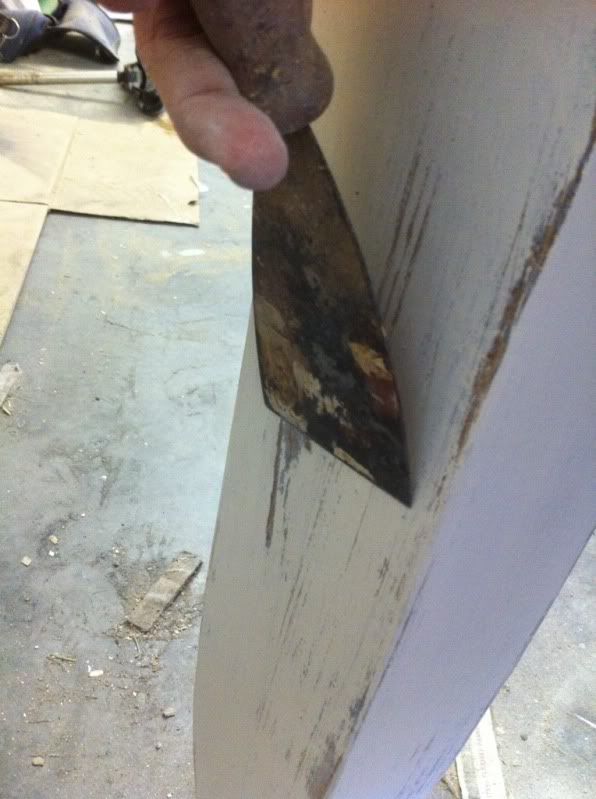
 *Now to distress it i used a scrapper and sandpaper or block or sander.
I love how the two colors show through now. see mistakes can be a good thing :)


I chose not to wax the bottom of this piece since i love the worn look and don't mind if it gets more worn ;) 

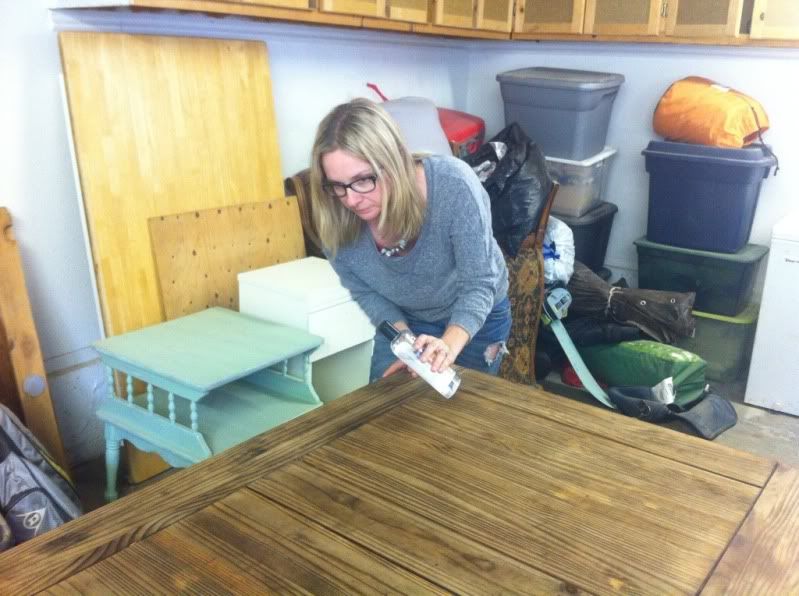
* i then 3 coats of pure pure mineral oil on the table 


*I wanted to to be sealed more so i got the wax out put a couple coats on it.


and finally after lots of layers and hard work as all tables are its finished :) 
hope you enjoy the picture (with some of the dinning room too)

 
This is our first house in weaverville ca with the table in the back... the only before one i could find ha


and just a funny one of Isabella... mom stop now!! 
dont you guys love my dirty floors too ;) you cant win em all hehe

linked up to
http://www.atthepicketfence.com
http://www.primpjunktion.com
http://frenchcountrycottage.blogspot.com