Wednesday, December 5, 2012

chalk paint childhood piano redo

So i know it has been a while since i posted i didn't know it had been this long! keeping up two blogs when you have a full FUN life is apparently harder than i thought lol. 


Well i have my child hood piano redo to show you and i'm super excited about it. i have so many great memories with this piano. I would pretend that underneath was my mail box and all my parents junk mail was my really important mail. Me and my dad would sit down at it and he would put my school memory verses to song so i could learn them every week in grade school. 
So when one of my brothers was needing it out of there rental house where it had been. i jumped on it. It had been damaged on top by a unsupervised candle from a renter so it needed painting and some TLC. 

heres the before 

and the damage

after some work getting the burnt part off some 

it took a few times putting wood filler on it and sanding it smooth

after the first coat of annie sloan chalk paint 

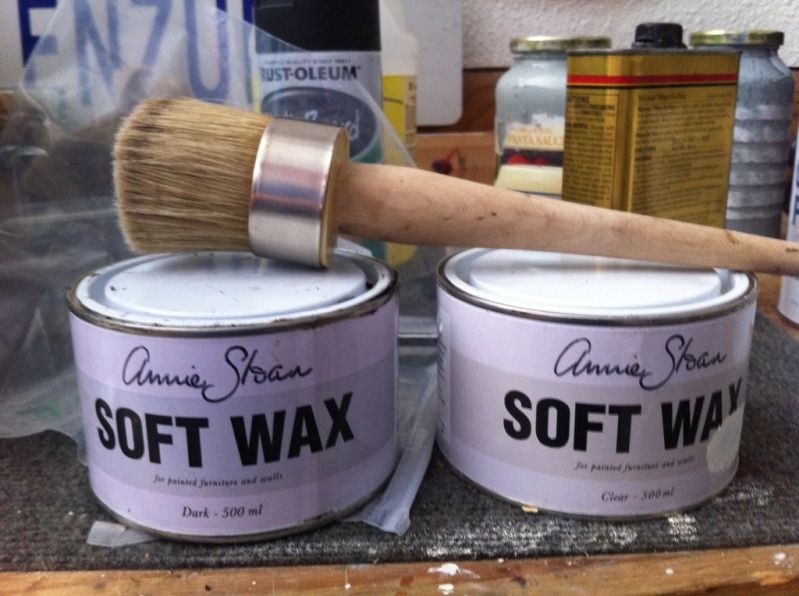
I then put a couple more coats on the piano sanded it distressed it then waxed it using the clear wax (not dark) and let set until it was not tacky anymore and then buffed it out 


hope you enjoyed this rehab. i love just starring at it hehe 

im linked up too 

Sunday, September 30, 2012

Balancing it all...

So not sure if i fail more than i succeed at this balancing life thing, but at least im not alone right!?  i know we all have lots to juggle in life... like the stuff we have to do and stuff we wish/want to do. The thing i notice and tell people is with everything we have going on something has got to give. For me its usually deep cleaning or laundry haha, hopefully never my attention to the kids, although I'm human and it does happens sometimes. Thank God his mercies are new every morning!
 I have been blessed this season with the good amount of photo shoots and weddings not to many as i really love being a stay at home momma. :)
 Even so i have been SWAMPED with editing! I'm one that when editing i edit every good picture i see. (im trying to get better at narrowing down) I feel like im wasting a picture if i don't edit it haha, but cause of this i end up editing up to 1200 pictures for a wedding and well it take time while juggling carpool, kids, cleaning, LIFE... (hopefully my clients dont mind and happy with the end product ;) ) 

A FEW PIC'S FOR YA 
(to see more click HERE)


So anyways this last few weeks my furniture redoing hobby has taken a back seat ... until yesterday i got to start on a project that i have wanted to do for a long time but just been busy and nervous to start it!!

Its my piano that we had when i was a kid. it has been well worn over the years. Like a bad burn mark on top from a candle (not from us hehe) so it needed paint! here is a little sneak peek at it...


Its going to take lots more coats but im so happy with it so far...

WHAT WE HAVE BEEN UP TOO


we have also been up to lots of evening walks,


redoing packaging for my photography

Lots of day and night editing and painting nails 

the oh so glamorous laundry,

Gardening,

making over our front yard (byebye giant bushes!)

And eveyonce in a while getting to go out and take a much needed break :)


WELL hope you all are doing well and enjoying life too, balancing act and all! :) blessings 

Wednesday, August 22, 2012

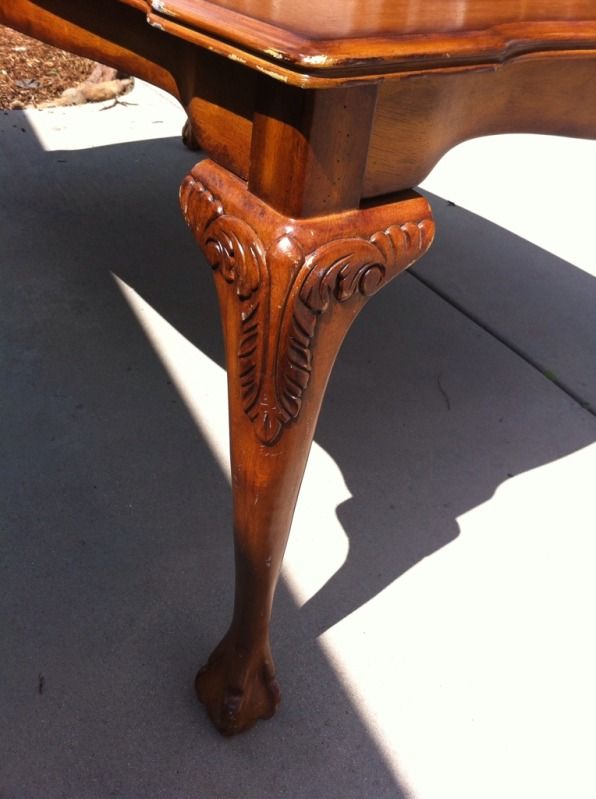
Hint of mint and curvy legs


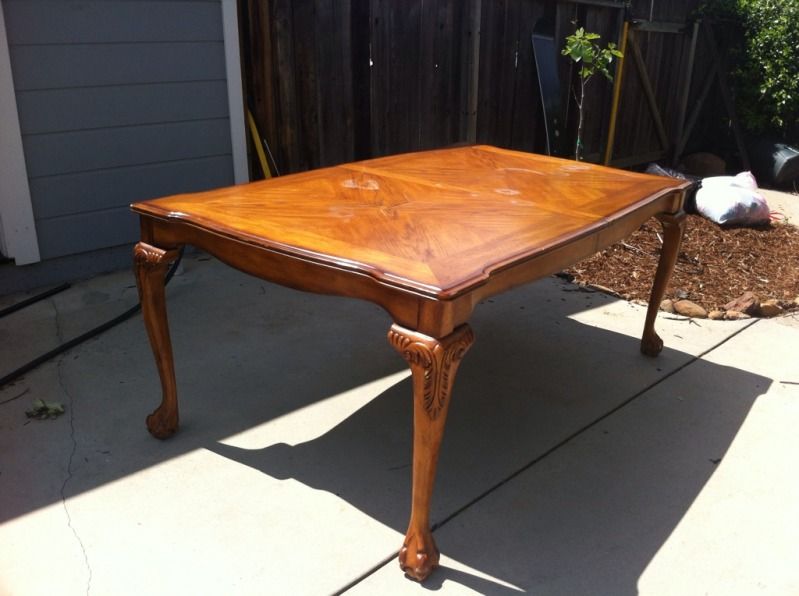
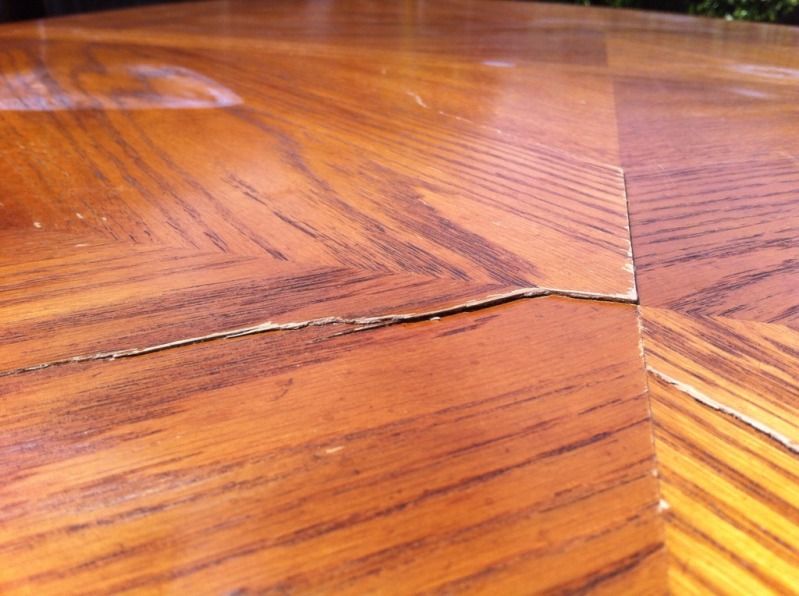
so we picked up this table at a yard sale it needed a little fixing on top from a crack but nothing a little sanding and wood filler couldn't fix  :) 


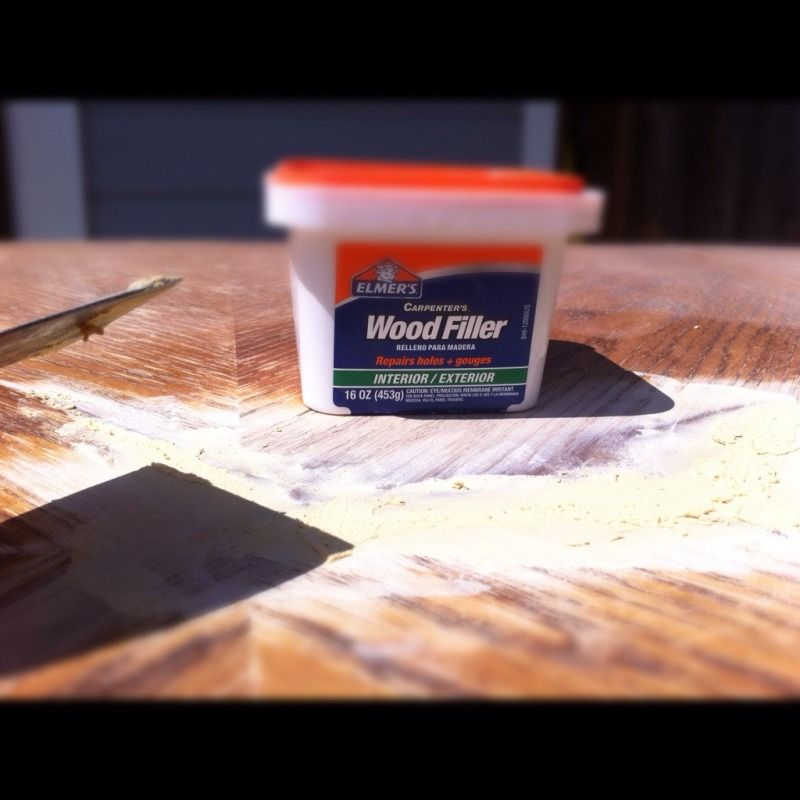
first i sanded down the crack till it was flat then used wood filler 


then sanded that down till smooth. then did those steps once more till all smooth and flat. 

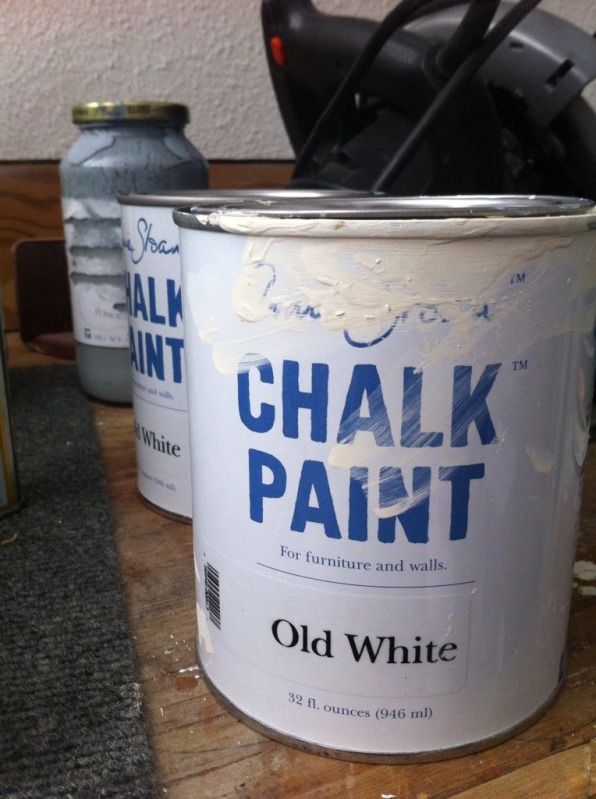
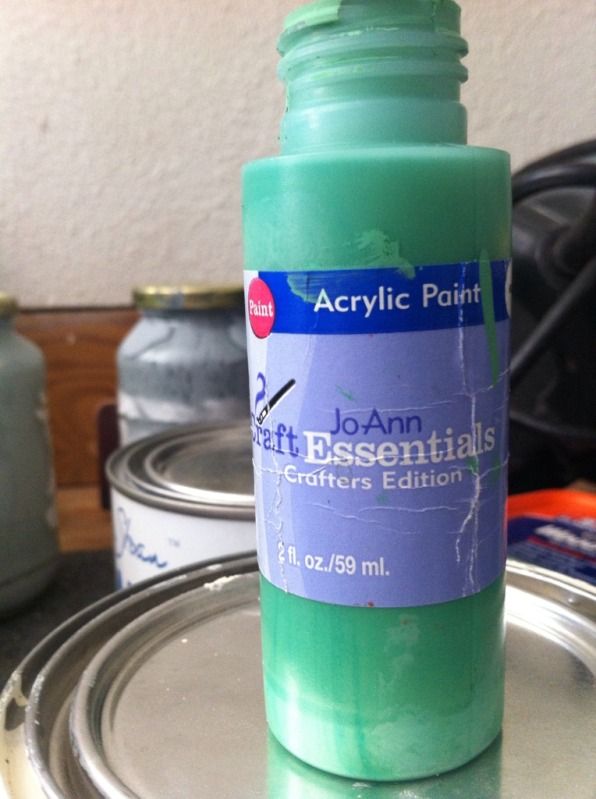
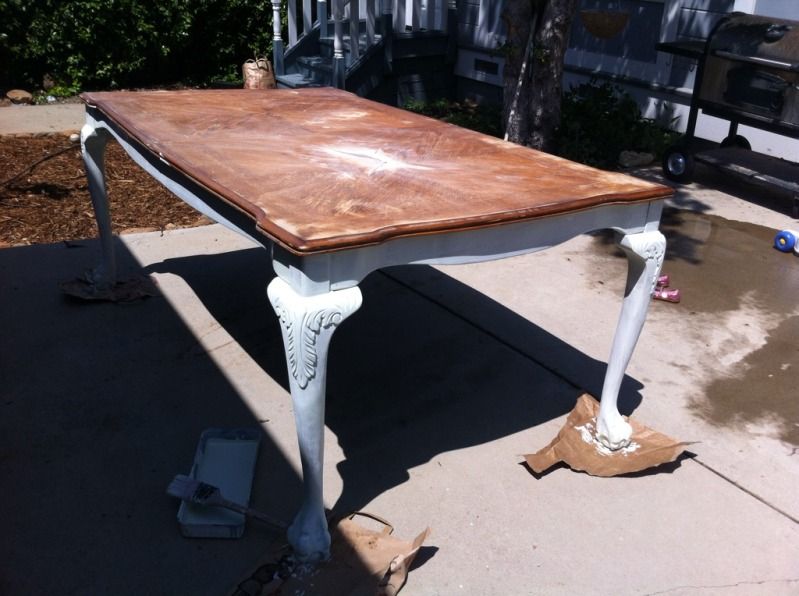
I wanted to paint the top white and the bottom a slit mint shade. so i mixed old white chalk paint with a green craft paint and mixed til desired color. i also add a little water to thin my chalk paint i like to work with thinner paint 


then put two coat of the minty chalk paint on the bottom.


i then painted the top with just old white chalk paint but then decided to also use a eggshell white on top. just to make it a little more easy to care for than using wax to seal it.  (i love wax but just wanted to try something different since i had this stuff laying around hehe )
i painted about 4-5 coats on top cause the table top was showing through. i also painted the top very rough i didn't want it to smooth.


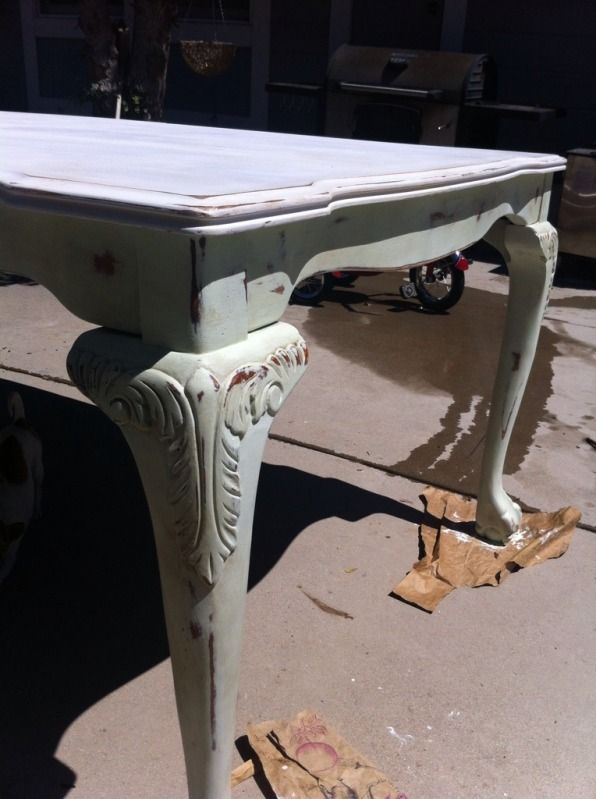
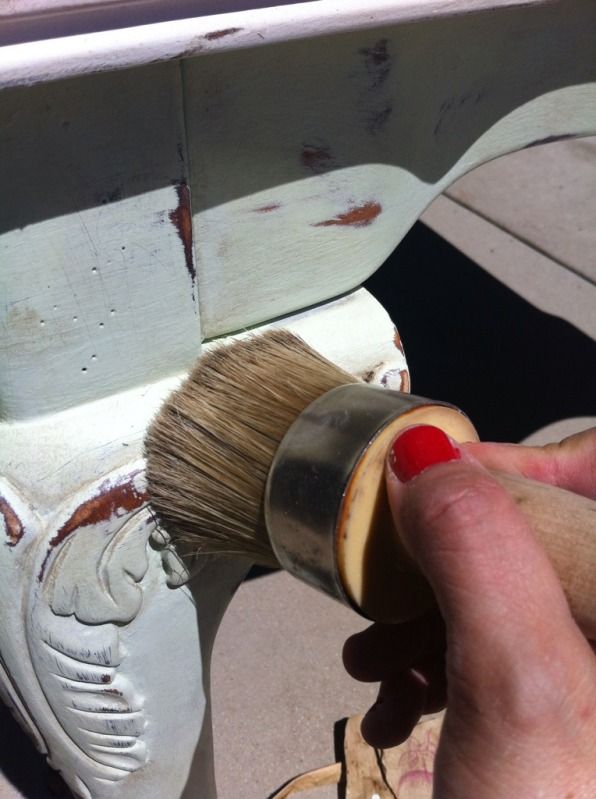
then sanded and destressed the top and bottom then used clear wax with a tiny tiny pit of the dark wax on the bottom half 


let the wax dry then buff out.


here is the finished product :) i wish i could keep her but it needed to be sold, .... one can not have 4 dinning tables ;) she is now very happy in her new home 


link to these parties