Monday, May 23, 2011

Update

Ok so I feel no need to apologize for not posting in 3 weeks since life has just been FULL! BUT really I'm sorry hehe things are kinda getting slower ok well really who am I kiddy things are never slow, somedays I can just handle the LOAD a little better than other times lol. it's so nice to have people love reading my blog and seeing the posts and commenting. Thanks to all who read and comment :) it makes my day extra fun seeing your comments in my inbox :-)..... anyways :) my computer cord went belly up ( one to many times in the baby's mouth will do that) and so during the day I have been computerless :( moment of silence please!;) And I still have not got a new one.(I'm posting from my iphone) Hopefully soon. I have a couple things I am working on. Then a pair of twin side tables redone with thee amazing chalk paint! Man I love that stuff! So till I can post about that I thought I would tease you all with the befores of the pretty little tables :)
Photobucket Pictures, Images and Photos

Hopefully in the next couple day I can show you the rest have a amazing blessed day!

Tuesday, May 3, 2011

vintage close to home

So a few months ago when we lived with my dad and mom waiting for escrow to go through on our house. My "work shop" was in there garage. (well to be honest there are still pieces of furniture in there..sorry mom and dad hehe ill be over soon to get them) 
Well i was searching for something in the cupboards and came across these amazing old wooden tool boxes. so right away i took a picture with my phone and texted them to my parents saying "um i want these!" and letting them know if they were sentimental not to worry i will be ok if they say no! As i am so sentimental so i would totally understand. Well turns out my great grandpa morken used to make wooden tool boxes and these were his. My dad had been keeping them along with some old tools. He said it was ok for me to have them.(yippee) and i promised i would not paint them or change them in anyway. They would be showed off and talked about. The greatest part they have a story. There not just any old tool box but ones my GG made with his own two hands. I can see him in his work shop making them now. I have heard stories from my grandma about what a talented man he was a Pastor, interior decorator, he would paint all kinds of things using plaster and such he even painted on the ceiling of the Angeles Temple.  He remodeled many homes, Prayed for the sick and they were healed. He was a hunter and fisherman thats how they ate. He even Baked many of the pies for a reasterant they had.
A fun little story i love is when my grandma was a little girl her mom made all of her clothes until right before she was married, but when she was about 15 her mom (my great grandma) broke her arm. they had the material & pattern for her 'Easter' dress, but none of the Ladies they asked would make it 'cause of the kind of fabric. Her dad (my great grandpa) said, no worries - I'll make it - and he did - and it was perfect!! So yeah needless to say he was a very talented man!


So here they are in all there glory im sure they will be moved around many times through out our home but for now here they our i love them!! 

 (i moved it to my room on our new dresser)

Here is the long one perfect for my table!


linked up to these parties
type a decorating
funkyjunkinteriors 

Thursday, April 28, 2011

french dresser

Here is my newest redo


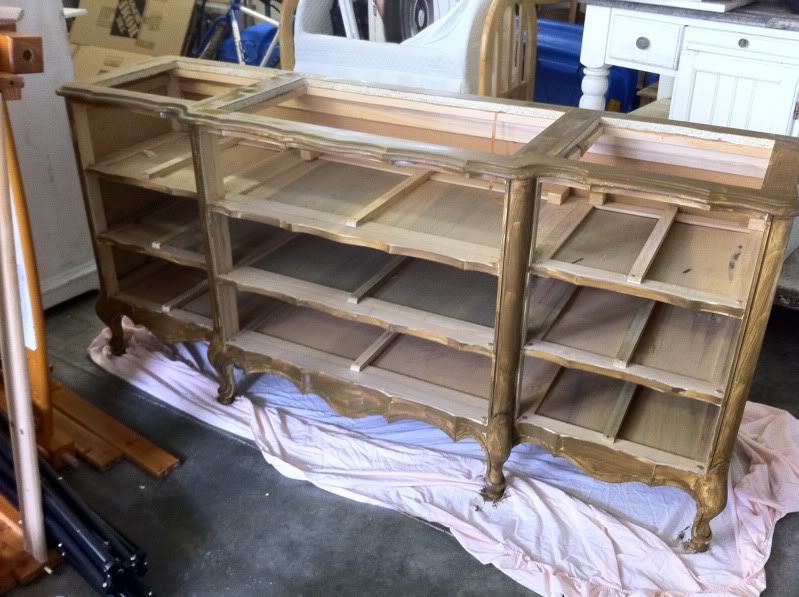
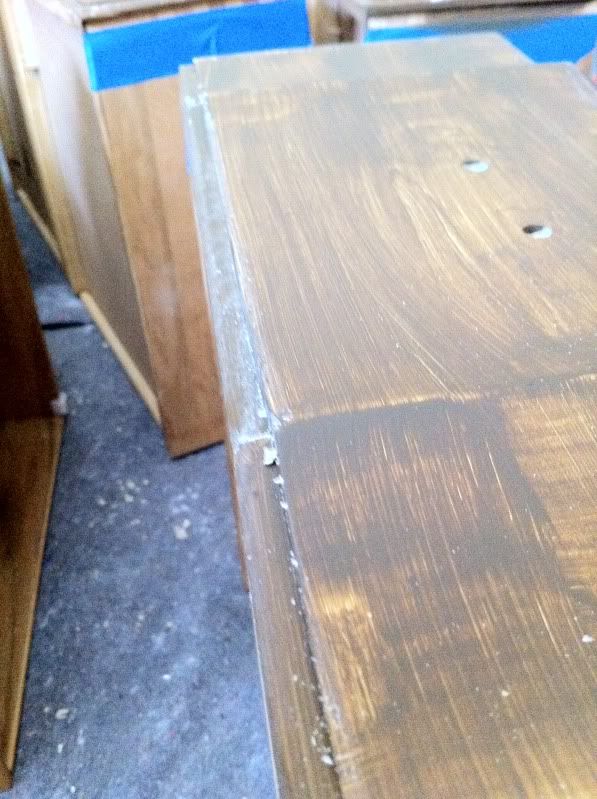
So i bought this dresser about 1-2 years ago and it has needed a makeover bad!! i started out by painting a brown over it so the gold and yellow wouldn't show through to much.


 then i put wax from a yummy smelling candle on the parts i wanted the cream paint to come off easily. the yummy part was just a bonus ;)


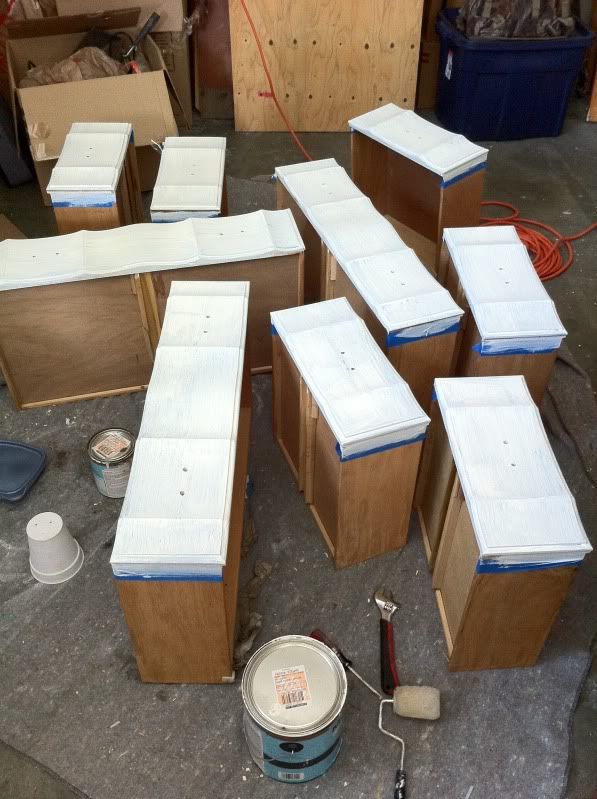
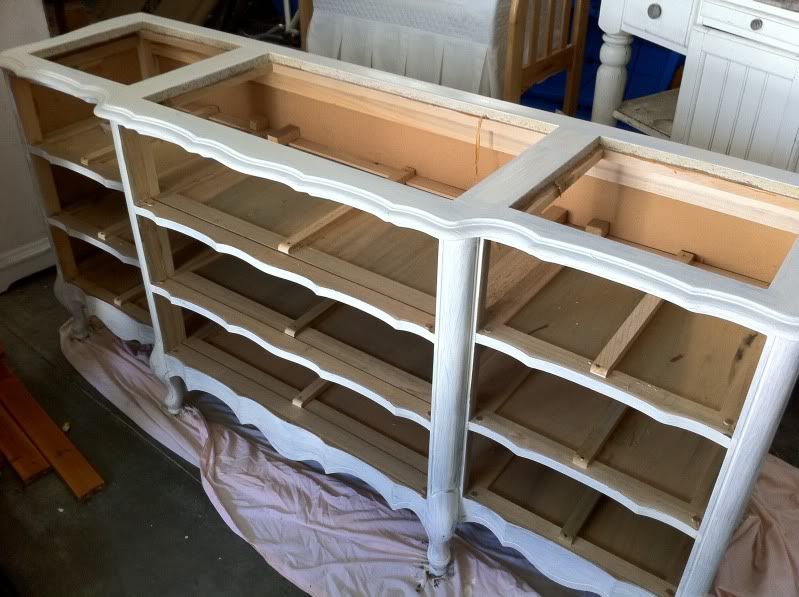
 then i took 3 coats of creamy flat white paint (not chalk paint yet i had already bought the paint for this one a long time ago) to cover this bad boy! 


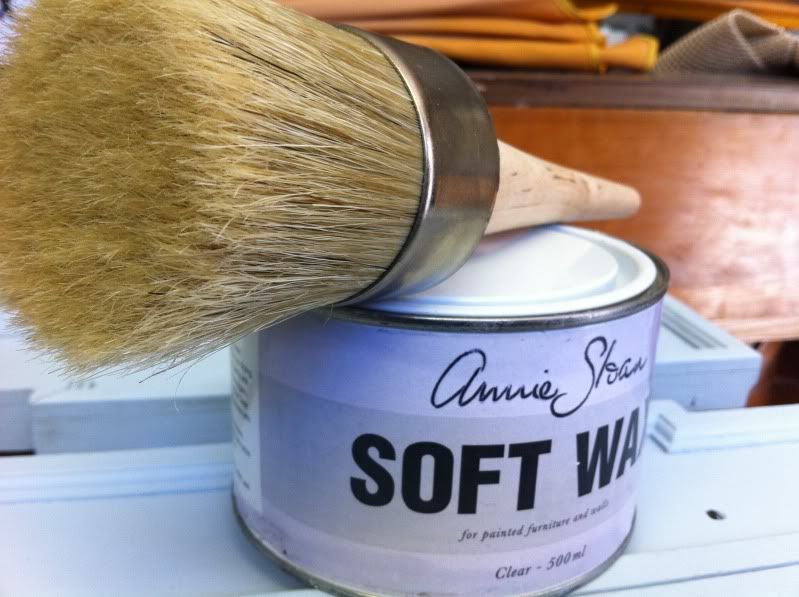
*then i put a clear soft wax with a great brush. then sanded it and distressed it with both fine and rough paper.


Then i used dark soft wax (very little) just mainly getting it in the cracks and only doing a area of about 4 inches at a time so it wouldn't get to dark. and rubbing a lot with a old pair of tights haha.
here is the before picture ( probably the best before picture ever ;) i couldn't find the other one so you get this one of my newborn shoot of our cruz :) 

Heres the after


A Legal dutch babies breakfast.


I love breakfast! i should add that i love sweet breakfast! pancakes, waffles, cinnamon rolls you name it if comes in a sugary breakfasty form im game! WELL since i have gone gluten/sugar/dairy free for 2 weeks now and counting all those things are well .... out of the picture..... you would think! BUT after this mornings breakfast. i think not!

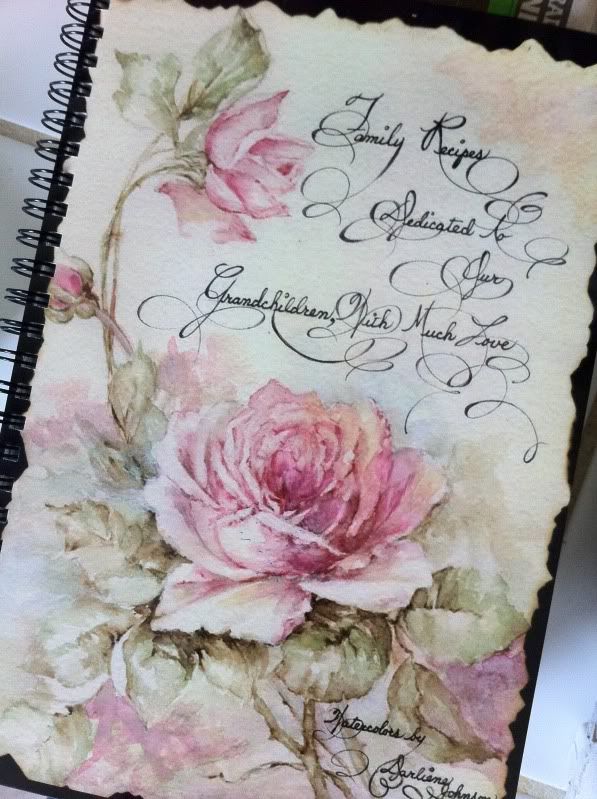
My grandma Johnson is a amazing cook. She has a amazing COOK BOOK that has all my favorites in it! I have been know to put away 6 cinn rolls. :-) she makes by far the best ones in the WORLD! This cook book is a piece of art as she painted a amazing floral water color for each recipe, and her hand writing is well incredible. If you only get the cook book for that one thing its worth it but there are so many other things in there that are amazing. Well i am determined to figure out how to make some of these things LEGAL for me to eat. hehe :)

So on todays menu is Dutch Babies.
they are super easy! (NOTE im going to be giving you my gluten/dairy free version)

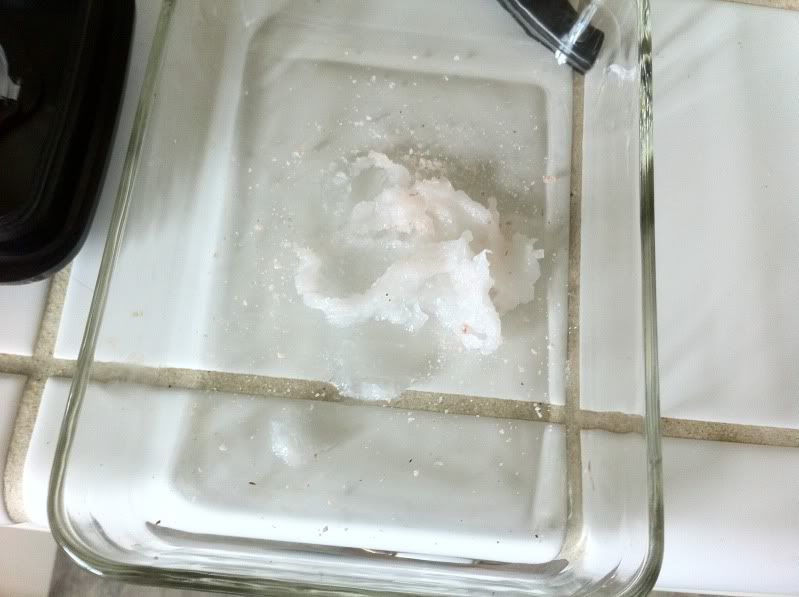
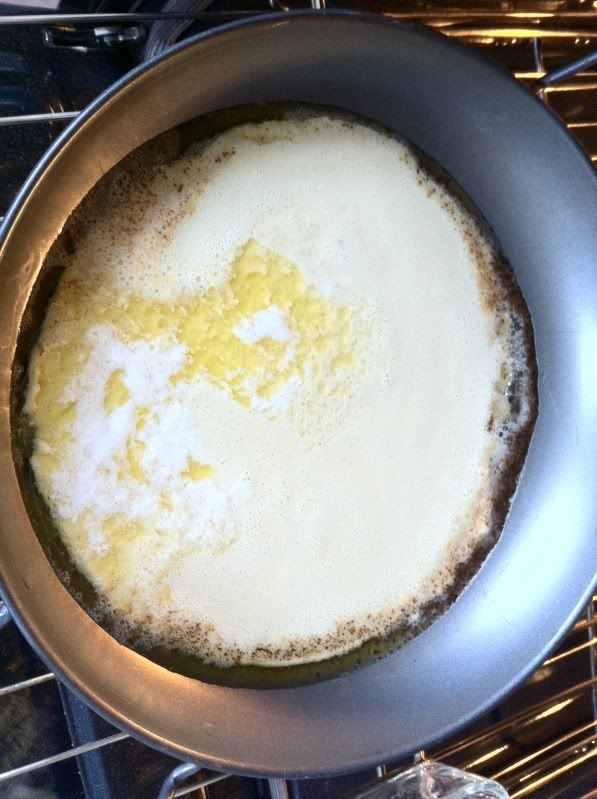
*first pre heat your even to 375 put a 1/4 cup of coconut oil and a 1/4 teaspoon of sea salt in a shallow pan and place it in the preheating oven. (note, this picture is of my test batch in a small pan normally i put it in my dutch baby pan)

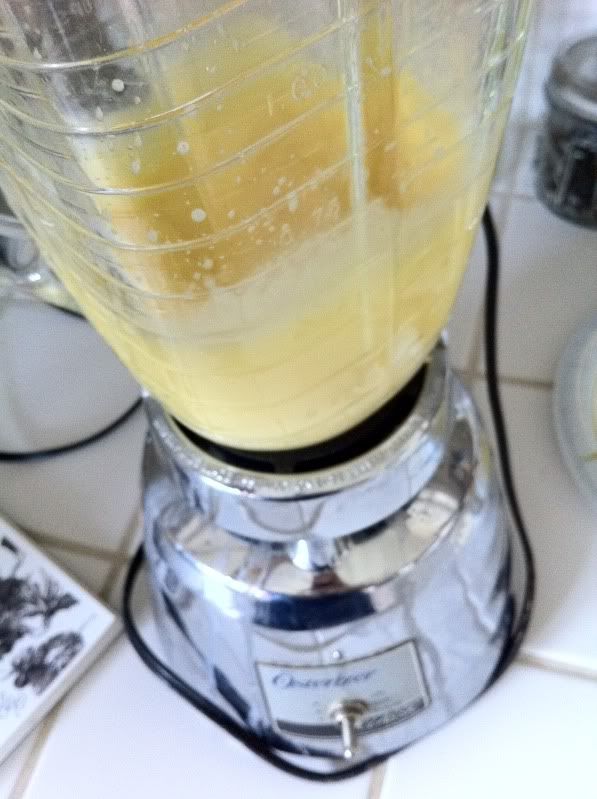
* next put three eggs in your blender and mix for 1 min. 

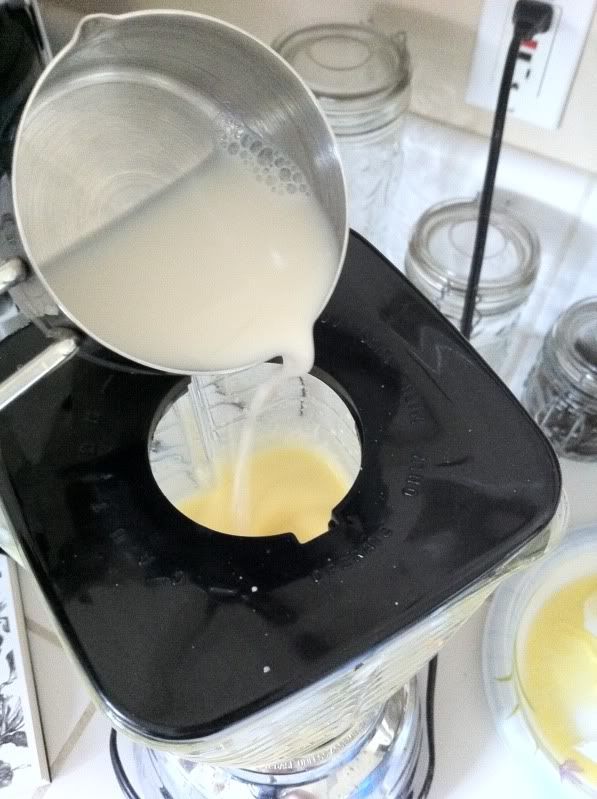
* next add 3/4 cup rice milk slowly while its blending (or almond milk ect....)


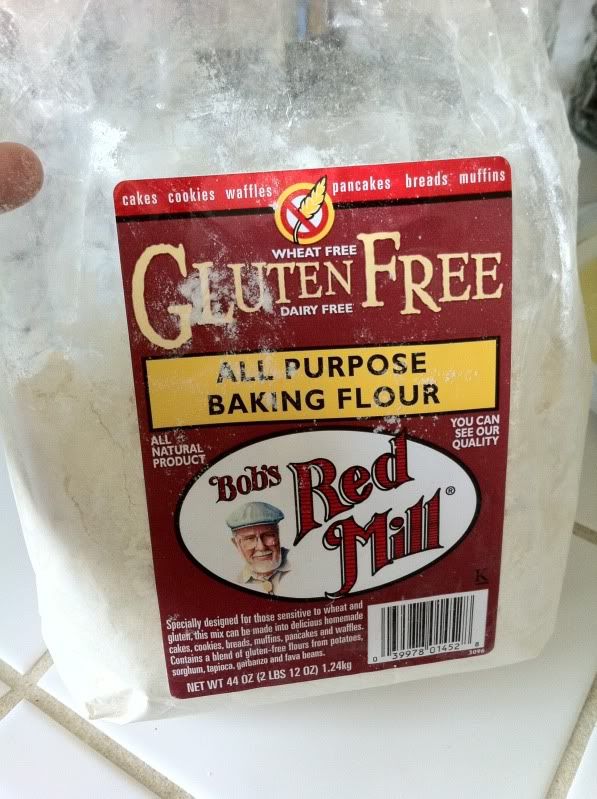
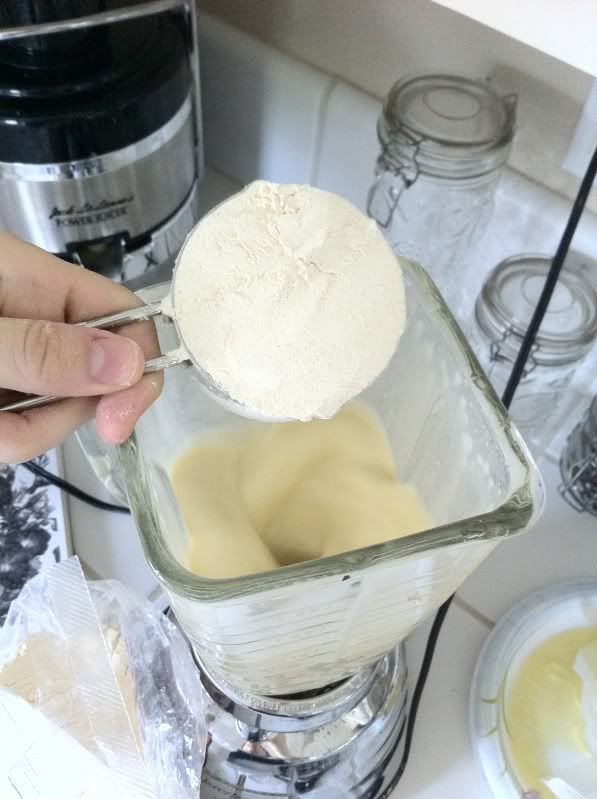
*now add 3/4 cup gluten free flour slowly.....blend for 30 secs this is what i use for it

Just a note i start the blender with the lid on then take it off and put flour in. ;)

* pour in the hot pan thats been warming in the oven and bake for 18-22 mins until golden (this picture is of the pan i made with real butter for the kids.... i didnt know if the coconut oil would turn out yet and they were hungry so i used real butter for theirs just in case  haha)
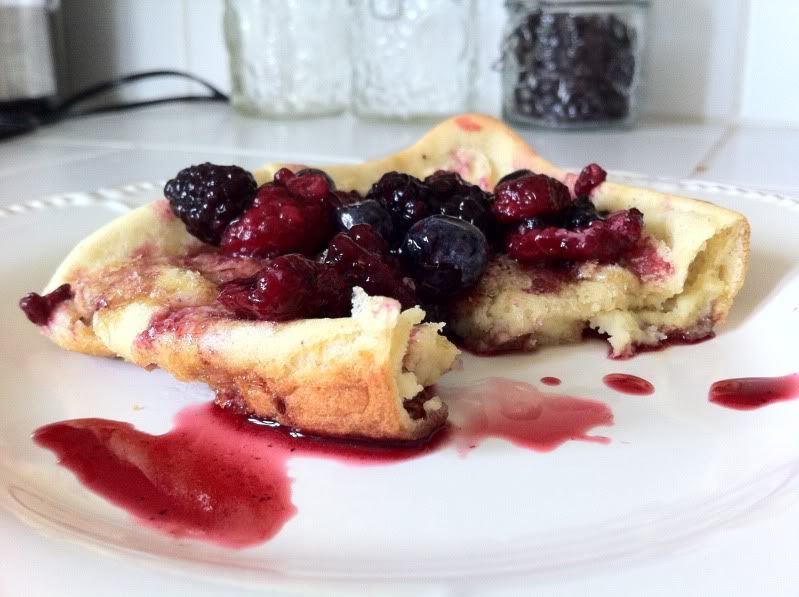
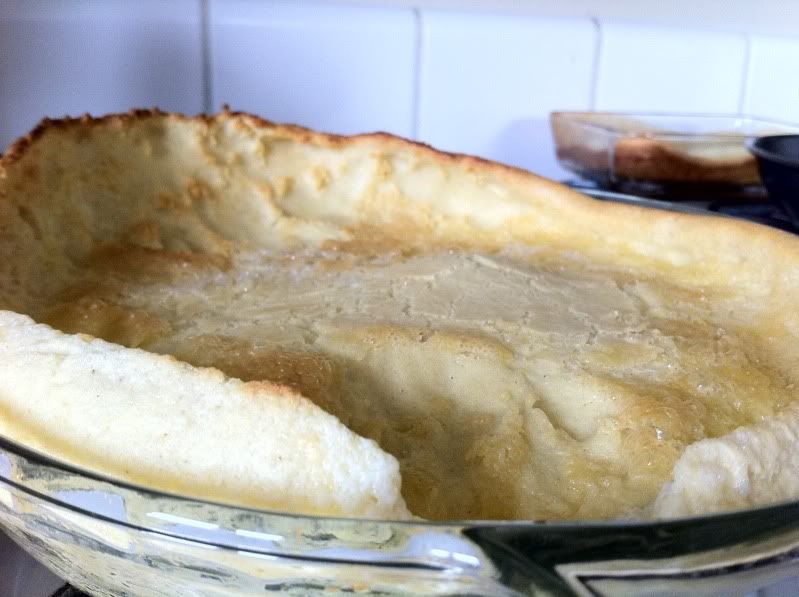
*then when ready this is what they look like (another pan lol)

this is where you can be super creative with toppings but I serve them with berries and drizzle a little maple syrup also bananas mix with berries are super yummy too. My kids eat them with just maple syrup :)