Wednesday, August 22, 2012

Hint of mint and curvy legs


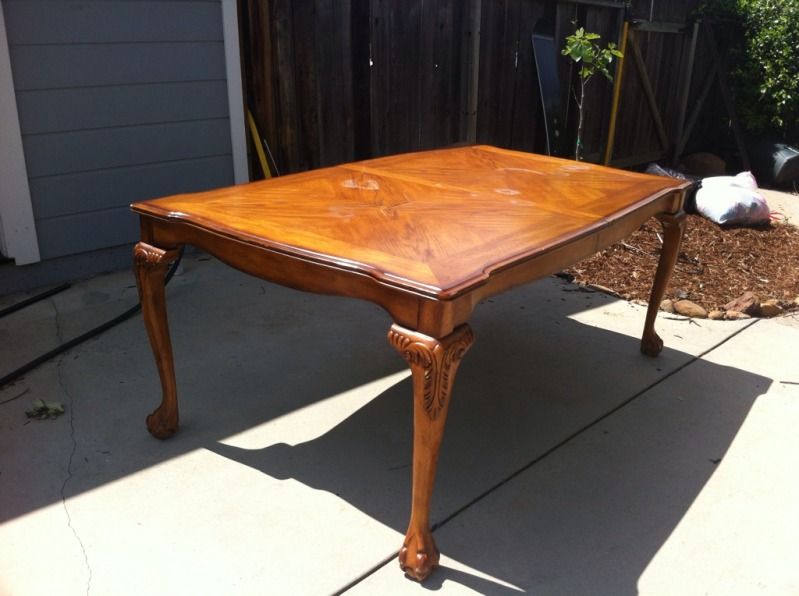
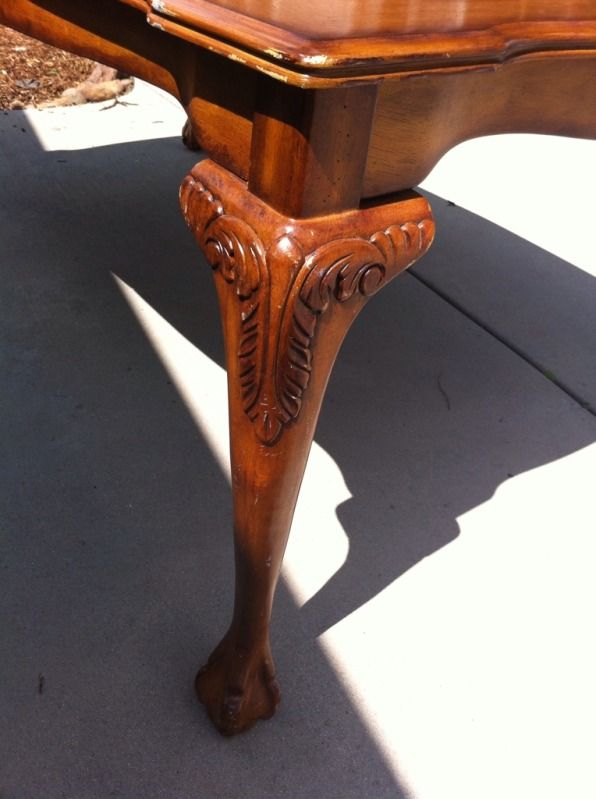
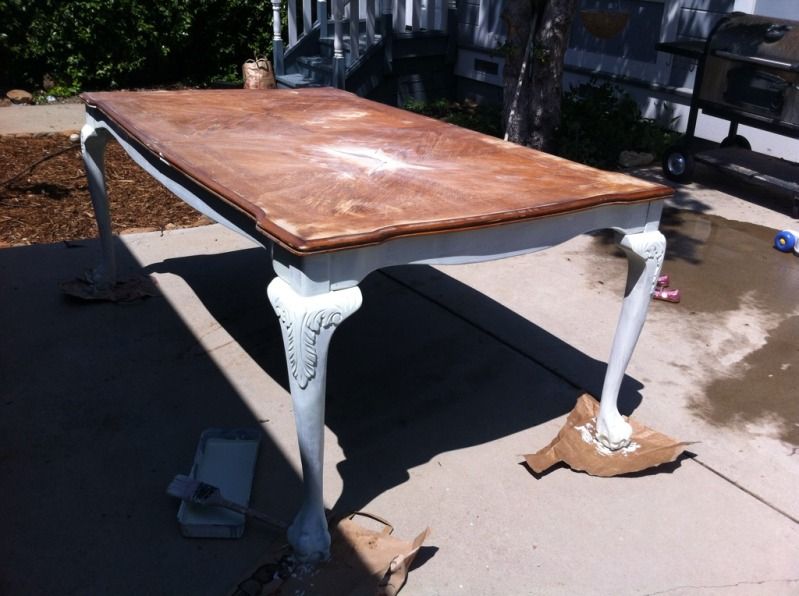
so we picked up this table at a yard sale it needed a little fixing on top from a crack but nothing a little sanding and wood filler couldn't fix  :) 


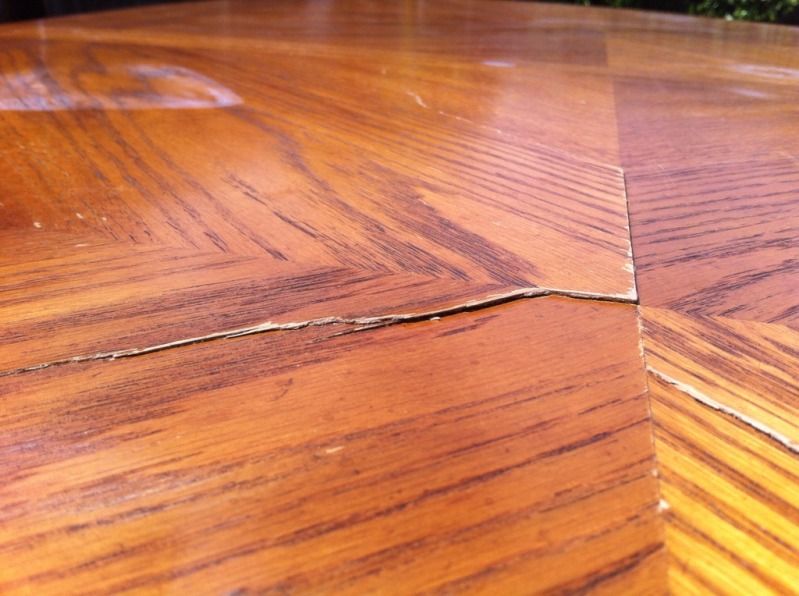
first i sanded down the crack till it was flat then used wood filler 


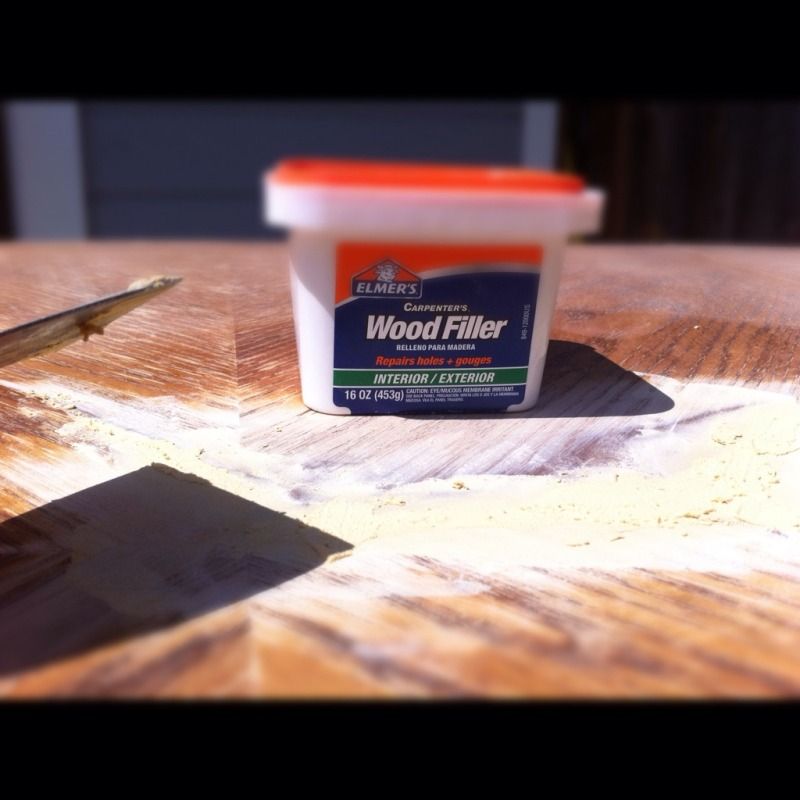
then sanded that down till smooth. then did those steps once more till all smooth and flat. 

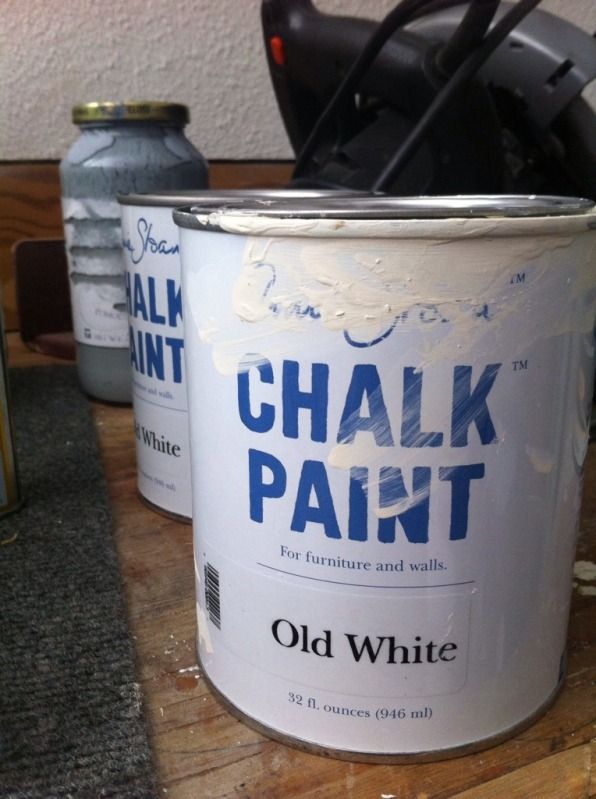
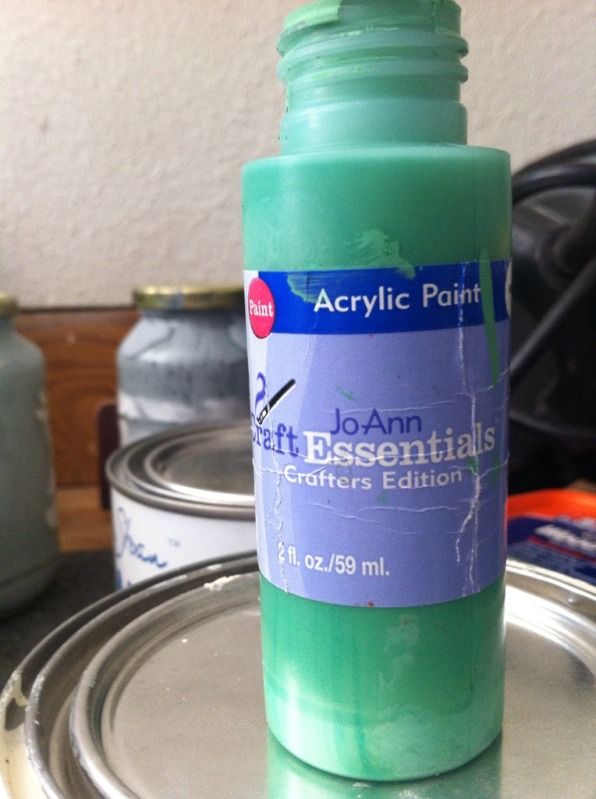
I wanted to paint the top white and the bottom a slit mint shade. so i mixed old white chalk paint with a green craft paint and mixed til desired color. i also add a little water to thin my chalk paint i like to work with thinner paint 


then put two coat of the minty chalk paint on the bottom.


i then painted the top with just old white chalk paint but then decided to also use a eggshell white on top. just to make it a little more easy to care for than using wax to seal it.  (i love wax but just wanted to try something different since i had this stuff laying around hehe )
i painted about 4-5 coats on top cause the table top was showing through. i also painted the top very rough i didn't want it to smooth.


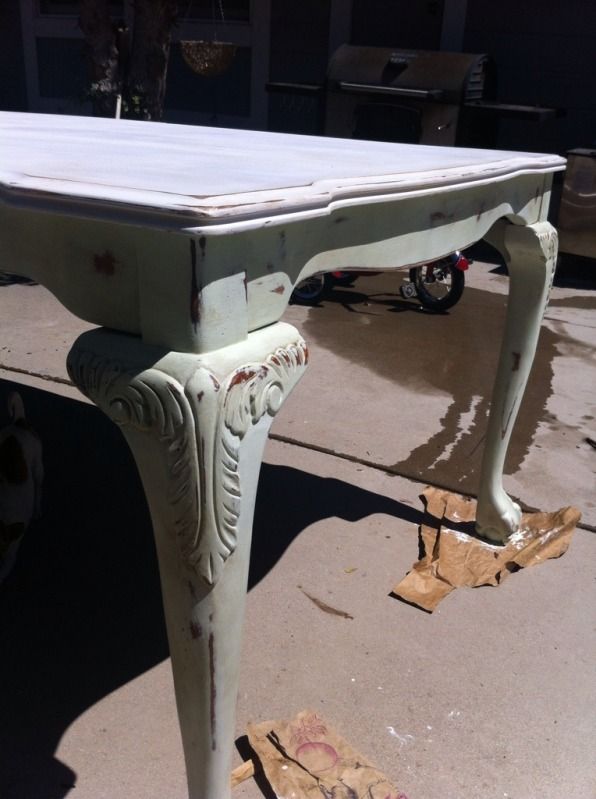
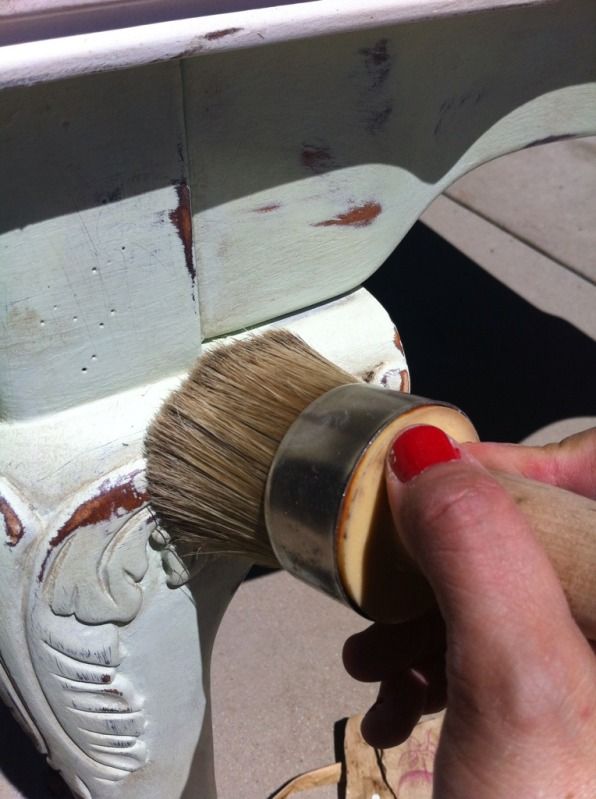
then sanded and destressed the top and bottom then used clear wax with a tiny tiny pit of the dark wax on the bottom half 


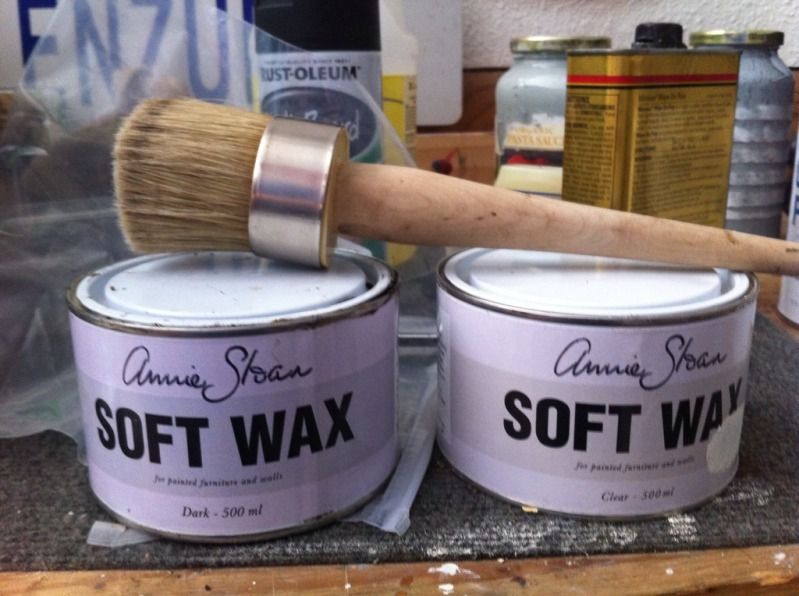
let the wax dry then buff out.


here is the finished product :) i wish i could keep her but it needed to be sold, .... one can not have 4 dinning tables ;) she is now very happy in her new home 


link to these parties 


Saturday, August 11, 2012

The wanna be Restoration Hardware chair


So i got two of these chairs about 1 1/2 years ago for 25 bucks and when my hubs needed a new chair for his office, i thought ok its about time i redid one of these chairs and it would be a perfect fit. so the prep worked started! 

Im going for the very rustic unfinished look like the restoration hardware line of unfinished furniture. now some may cringe at the shear thought of a unfinished chair but i droll over them lol.
 i know this is not exactly up to there amazing level but hey for a total of about $36.50 ill take it! :)

12.50 for the chair 
10.00 for burlap
4.00 (about) for paint & poly
 10.00 (about) for staples and glue


first take all the old fabric off! there is really no easy way to do it :)


with a needle nose plier i pinch the cording around the needle nose pliers and twist then any staple left in the wood i just pull out. i did not get all the staples out the were still in the wood from the fabric part but did get all the ones sticking out lol


 my little helper hehe pulling the fabric off :)


once thats all done time to paint the chair using black milk paint


first coat
second coat

(i did a third coat but didnt take a picture)

then let it dry for about 40 mins its super hott here right now so it dries FAST!

 Then sanded it where i wanted it destressed and sealed it with a wipe on poly that i used a old cut down brush to put on cause of all the fine details then just wiped with a dry rag after.


 time to put the first layer of burlap on since burlap has holes in it i double up on the layers. 


i actually used hot glue to make it stick down the inside of the chair since i couldnt get a staple gun to go down in the crack. 
it actually is very sturdy. i just pushed the gun way down and put lots of the glue then quickly put the burlap down in the crack. 


 then i stapled the burlap in just a few places enough to hold it in place around the chair. then put the other layer of burlap on it, then really stapled it all around. 
 at the curved top i folded it over a little then stapled it. 


then i trimmed all the edged and hot glued under every edge of burlap where it touches the wood just to make it extra secure and help the burlap not to fray more.

and on just the top part of the chair glued and folded the edge under 
(sorry bad picture taken in bad lighting lol with my phone) 

like this  but i continued it down all the way (hope that made since)

Here is the chair all finished or unfinished hehe 
(chair staged in my living room for pictures )