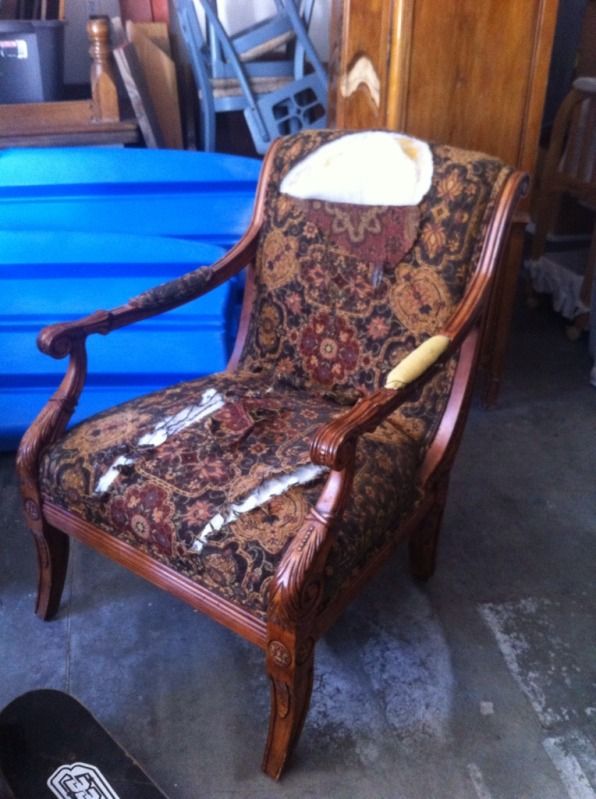
So i got two of these chairs about 1 1/2 years ago for 25 bucks and when my hubs needed a new chair for his office, i thought ok its about time i redid one of these chairs and it would be a perfect fit. so the prep worked started!
Im going for the very rustic unfinished look like the restoration hardware line of unfinished furniture. now some may cringe at the shear thought of a unfinished chair but i droll over them lol.
i know this is not exactly up to there amazing level but hey for a total of about $36.50 ill take it! :)
12.50 for the chair
10.00 for burlap
4.00 (about) for paint & poly
10.00 (about) for staples and glue
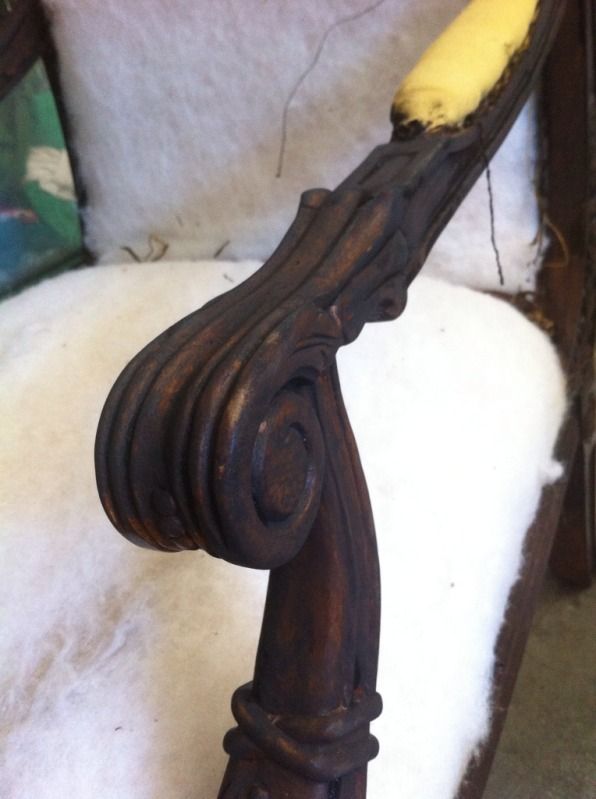
first take all the old fabric off! there is really no easy way to do it :)
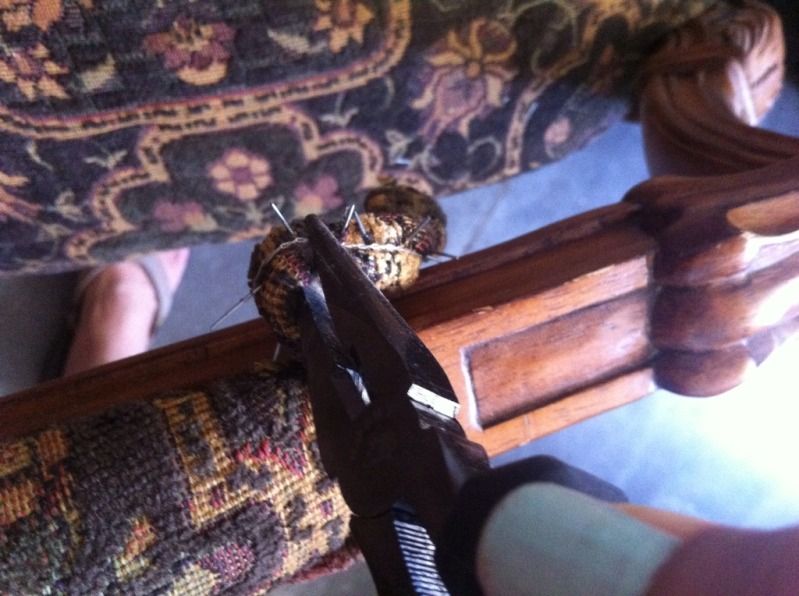
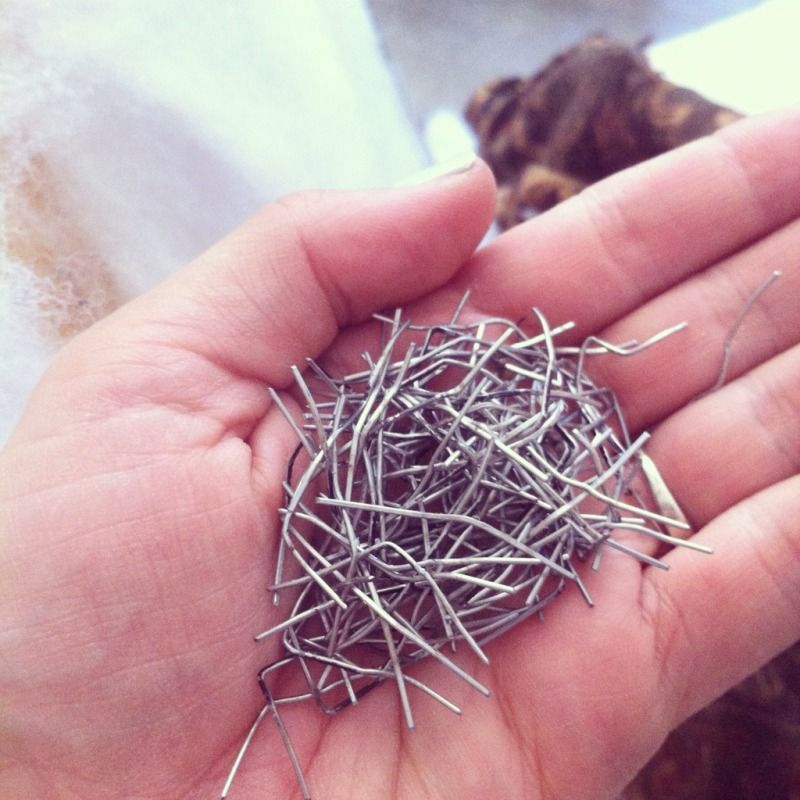
with a needle nose plier i pinch the cording around the needle nose pliers and twist then any staple left in the wood i just pull out. i did not get all the staples out the were still in the wood from the fabric part but did get all the ones sticking out lol
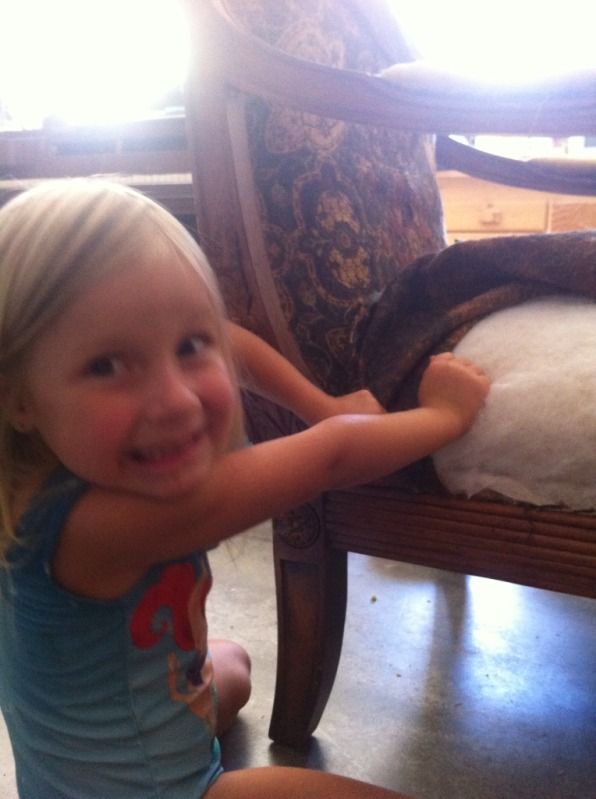
my little helper hehe pulling the fabric off :)
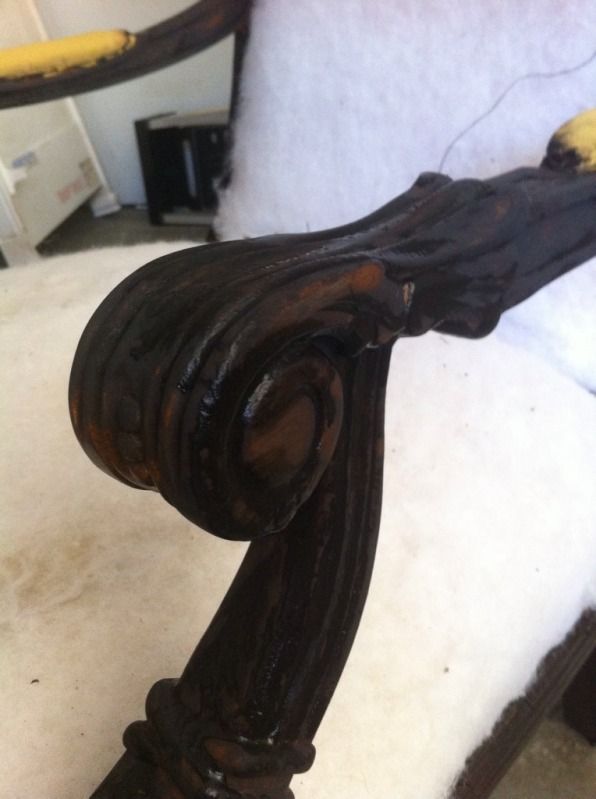
once thats all done time to paint the chair using black milk paint
first coat
second coat
(i did a third coat but didnt take a picture)
then let it dry for about 40 mins its super hott here right now so it dries FAST!
Then sanded it where i wanted it destressed and sealed it with a wipe on poly that i used a old cut down brush to put on cause of all the fine details then just wiped with a dry rag after.
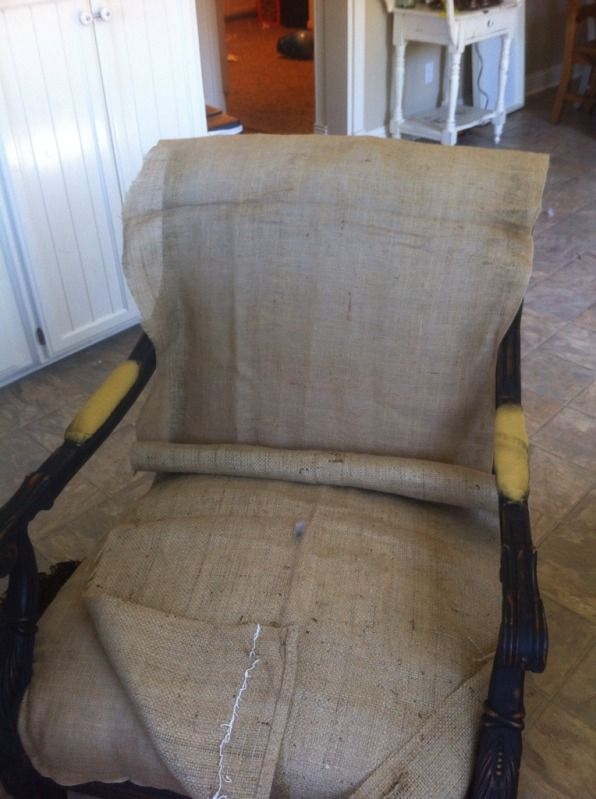
time to put the first layer of burlap on since burlap has holes in it i double up on the layers.
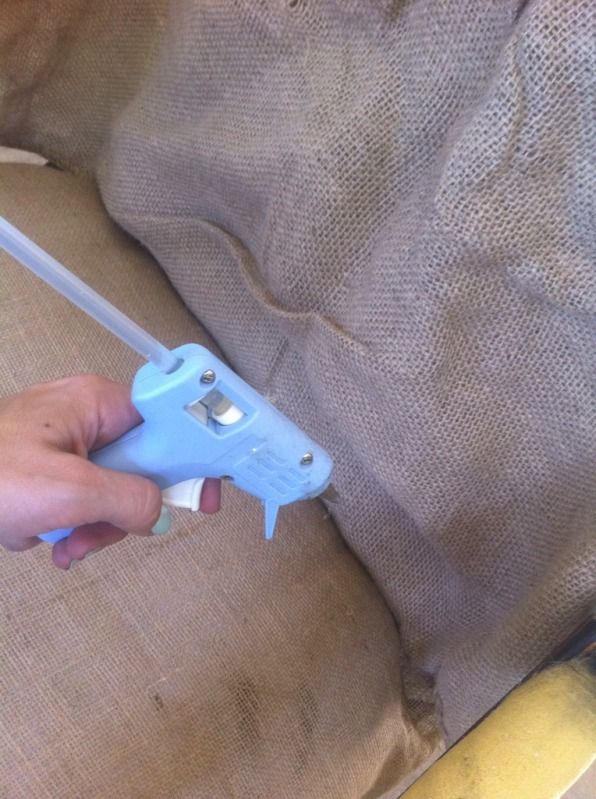
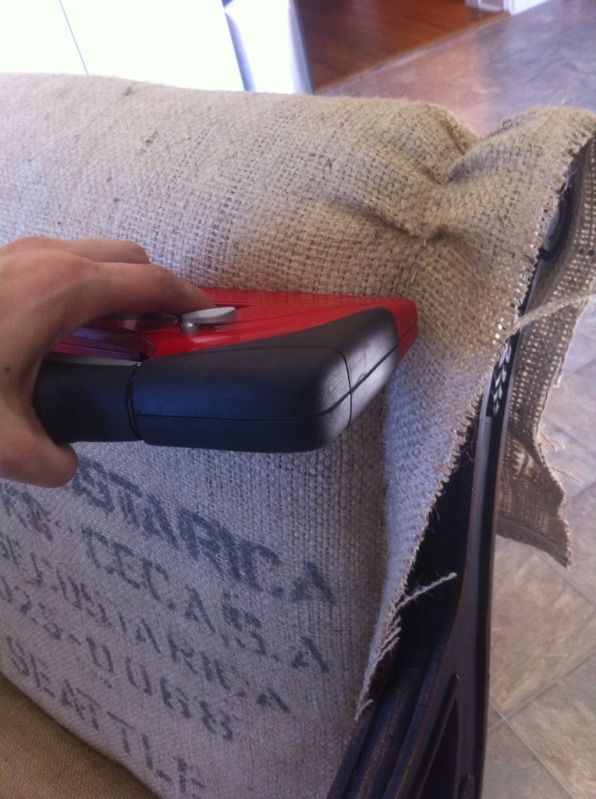
i actually used hot glue to make it stick down the inside of the chair since i couldnt get a staple gun to go down in the crack.
it actually is very sturdy. i just pushed the gun way down and put lots of the glue then quickly put the burlap down in the crack.
then i stapled the burlap in just a few places enough to hold it in place around the chair. then put the other layer of burlap on it, then really stapled it all around.
at the curved top i folded it over a little then stapled it.
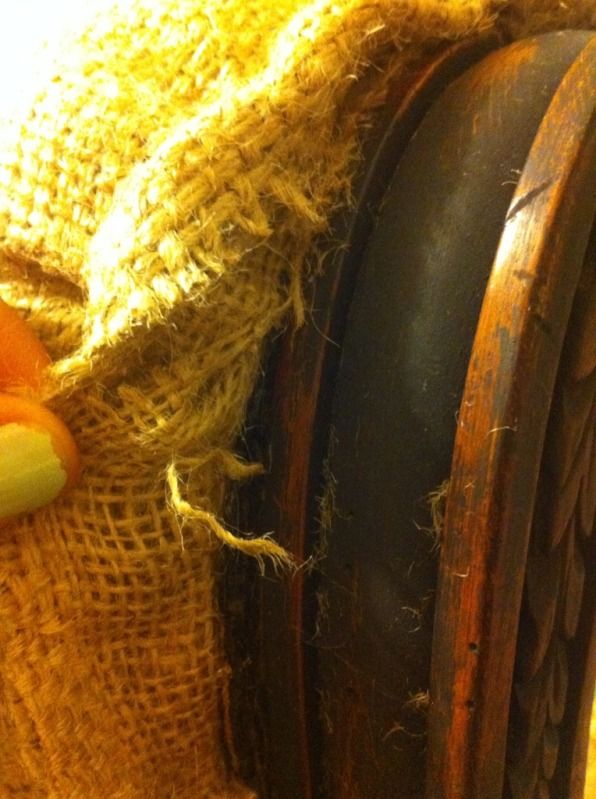
then i trimmed all the edged and hot glued under every edge of burlap where it touches the wood just to make it extra secure and help the burlap not to fray more.
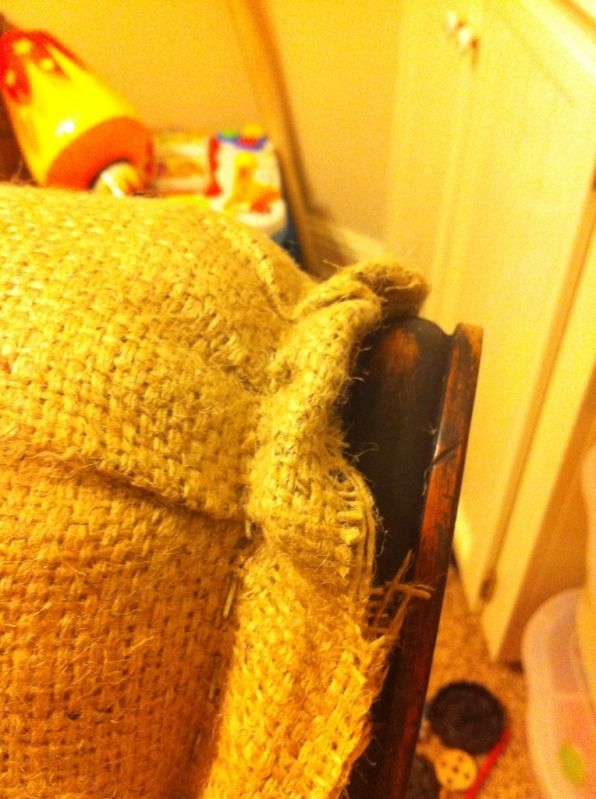
and on just the top part of the chair glued and folded the edge under
(sorry bad picture taken in bad lighting lol with my phone)
like this but i continued it down all the way (hope that made since)
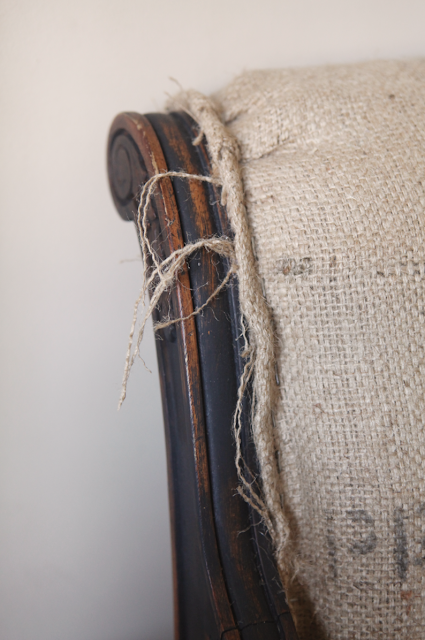
Here is the chair all finished or unfinished hehe
(chair staged in my living room for pictures )







20 comments:
I am SO in love with this look! And you make it sound do-able as well. My poor torn wing chair is in grave danger as is... :)
Shared you all over the land for SNS 149. :)
http://www.ilovethatjunk.com/2012/08/scrappy-style-burlap-upholstered-chair.html
Donna
I love this, I have always want to learn how to do some simple upholstery, you have given me courage to try, thanks for the tutorial!
I love this look! I have two chairs "undressed" right now, down to the original burlap. I was sad to see there is glue all over it though...so this might be my solution, add another "rough" layer of burlap to cover the glue!
Thanks for sharing the how-to's. Great post!
Absolutely beautiful!! I think I need a couple of them too-they are just gorgeous!! Thanks for sharing at Feathered Nest Friday!
I love love love that chair! and the frayed burlap. Oh my. Just makes my little heart go pitter patter! Excellent job on the re-upholstering. i cannot wait to try this on my wing chair or my Grandma 's old rocker, or, . . . oh my. So excited to try this I can't think straight!
Never thought the unfinished look would look so fab. your chair is just to die for. so glad I stopped over today.
rita
Perfection! I have wanted to try this and am so inspired now just need to find the right chair!
What an amazing transformation! And a great tutorial too! I love the finish you applied to the wood and the the unfinished state of the chair. Good job!
i have a very similar chair waiting in the wings for....me...to ...do .... something! I think you may have just pushed me to get in gear...thank you!
NORTHERN COTTAGE {http://www.NorthernCottage.net}
I absolutely love this- what a fantastic makeover.
Truly a one of a kind piece:)
Great job!
Your newest follower - would love to have you come by for a visit and follow back when you can
Hugs,
LOVE this - I'm going to be on the lookout for a chair I can do this to!
i LOVE every little thing about this! Amazing job well done!
i'm sharing with my facebook friends because they all need to see how wonderful this is!
xo ~ kristi
www.facebook.com/barnowlprimitives
Hi, just joined your blog from French Country Cottage. Absolutely LOVE the chair!! I have recovered a couple of chairs in burlap but I love the unfinished look!
I just bought burlap this week to do up four outdoor chairs and your post is timely. I love the look. The chair is gorgeous!
Anne @ Domesblissity
Oh Leah, this is simply beautiful! Love the (un)finished look! I have 3 antique chairs that are torn to shreds and need new lives. Maybe at least one should get this treatment....LOVE IT!
www.dearemmeline.blogspot.com
Your chair turned out so great!!
I love this! I have a chair that is calling out do be dressed like this.
The chair looks STUNNING Id sell your stuff in my shop any day!! You should try miss mustard seed milkpaint and her oils/wax its amazing!
May I ask where you got your fabric? I am trying this project and my burlap is stiff and not not woven very thick so it frets and sticks straight out. Also did u do your milk paint very thin? Thank u so much! The chair is amazing!
pg auto เครดิต ฟรี แจกจริงกดรับ เครดิต ฟรี pg slot ได้ด้วยตัวเอง ชื่นชอบคิดโปรโมชั่นดีๆมาเพื่อลูกค้าที่น่ารักน่าชังของเราเสมอ แต่บทนี้เราจะมากมายล่าวถึงประเด็นการแจกเครดิตฟรีแบบไม่ต้องฝากเลย
Post a Comment